Guitar Mods: Hot Rodding an Early '80s Squier Telecaster, Part 3
All the latest guitar news, interviews, lessons, reviews, deals and more, direct to your inbox!
You are now subscribed
Your newsletter sign-up was successful
The set-up:I'm modifying an early-'80s ash-bodied Squire Telecaster that is all original and in very clean condition. Its appointments include a 21-fret maple neck, vintage-style bridge and pickups and Fender Japan branded sealed gear tuners.
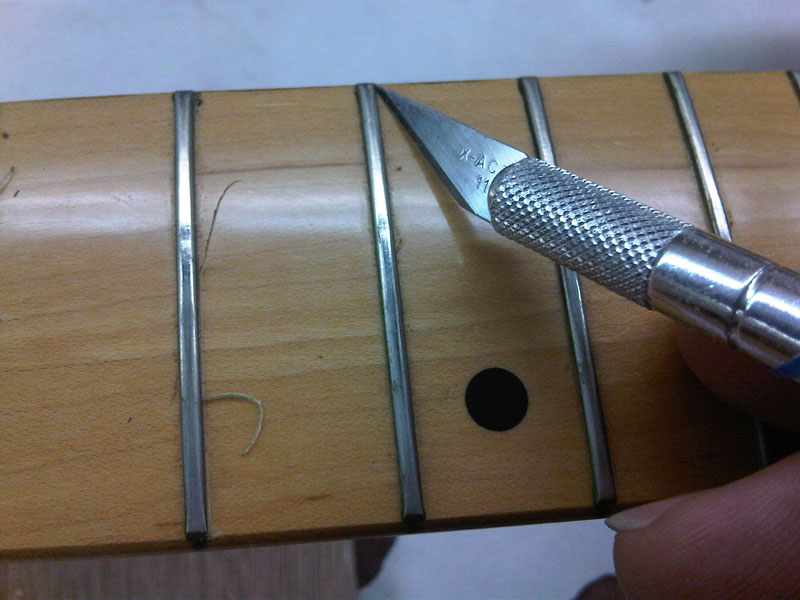
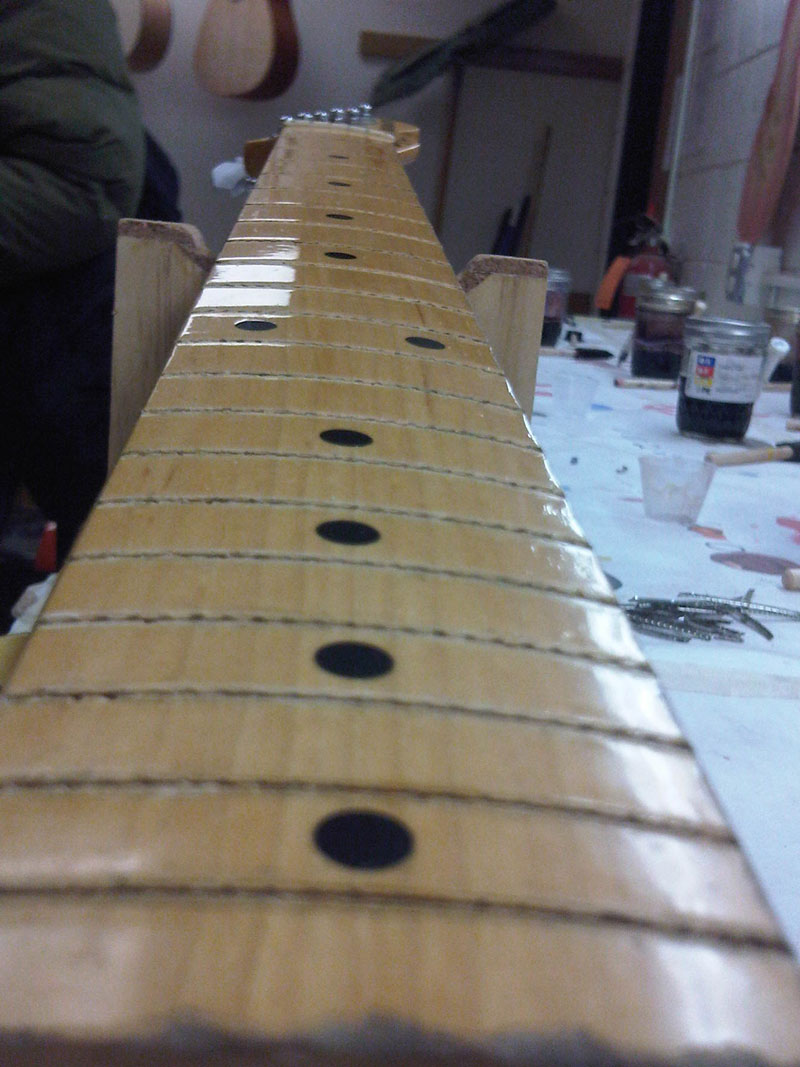
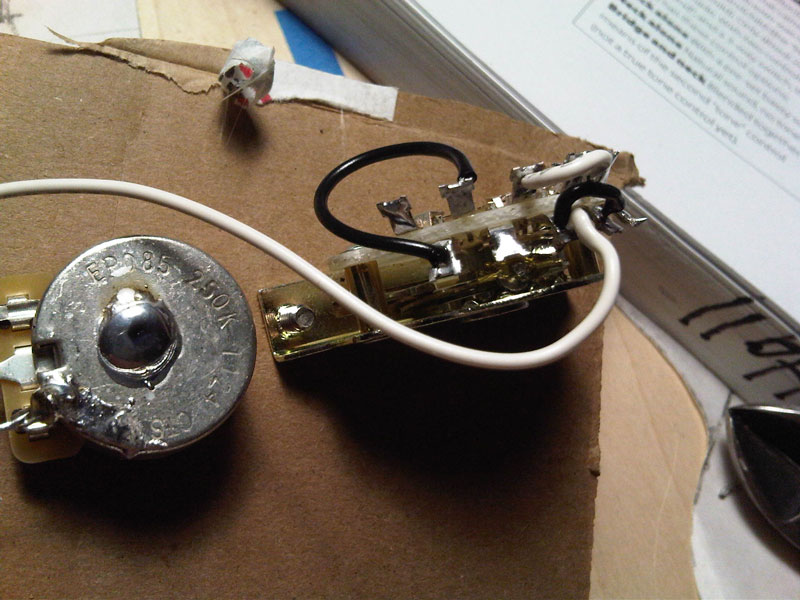
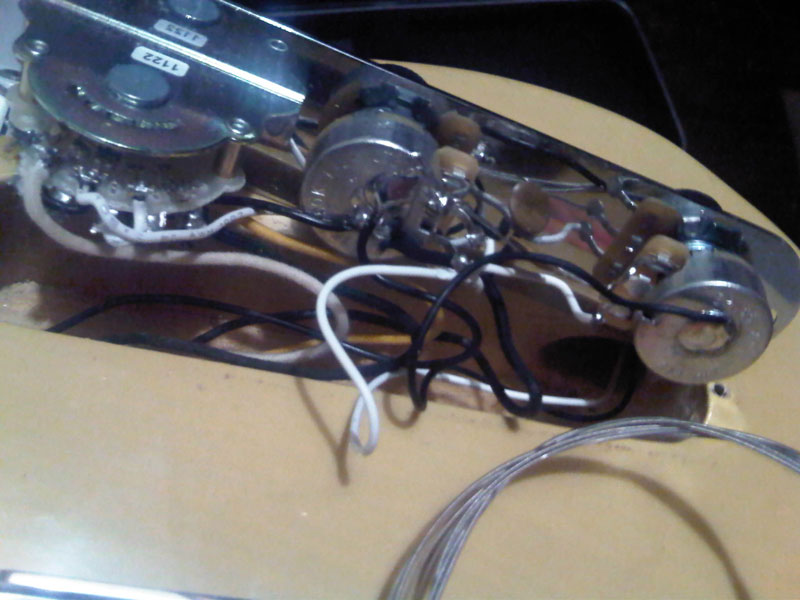
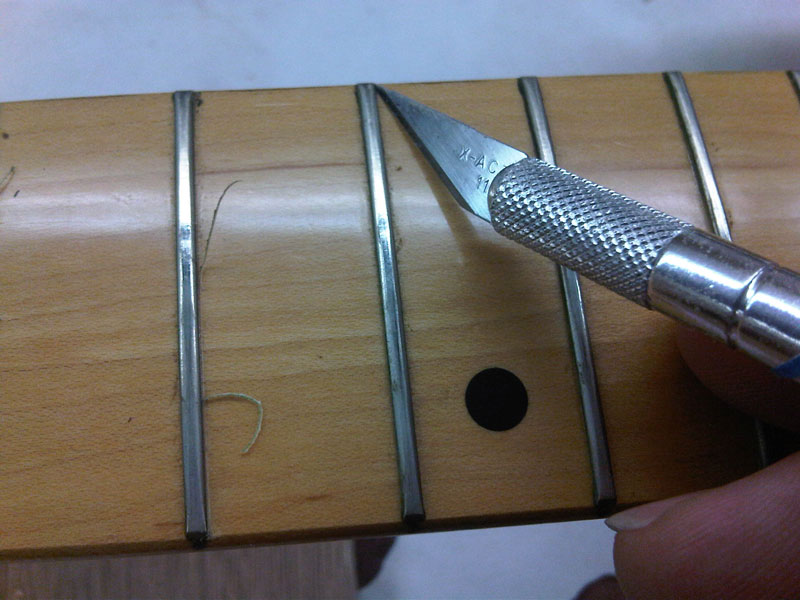
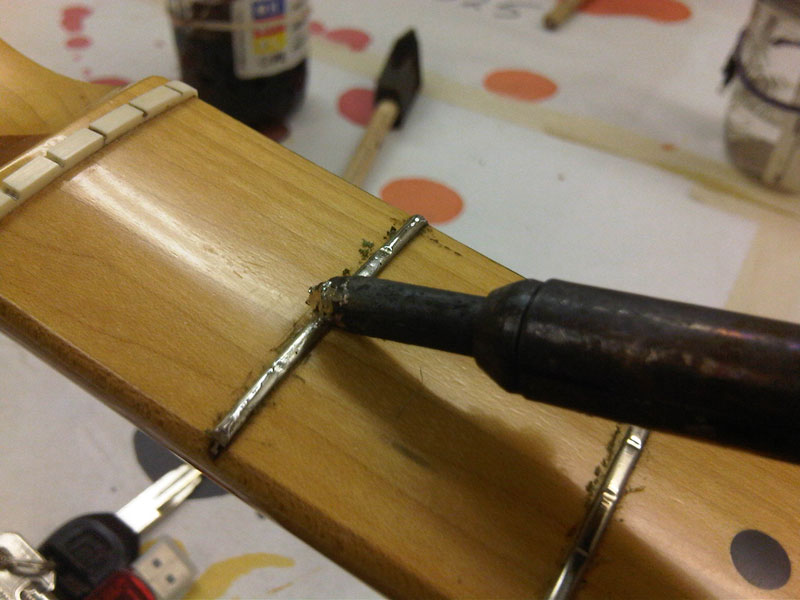
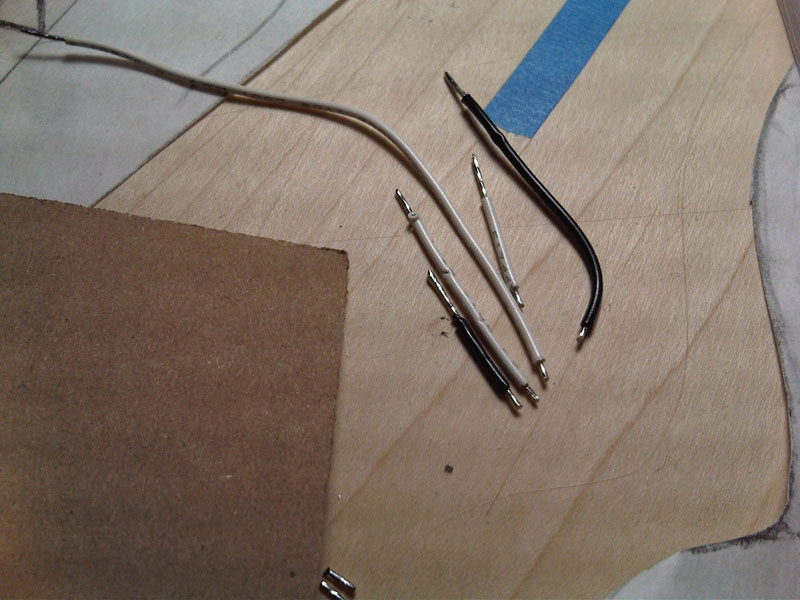
Changes I will make include installing a Callaham Vintage Tele bridge, Lollar Special-T single coils, CTS brand pots and a four-way switch. This switch allows the option of having both pickups available in series and in parallel besides either pickup by itself. Sperzel locking tuners round out the component mods and will make sure this axe stays in tune. I also will install Jescar stainless steel medium-jumbo frets and a bone nut.To check out parts one and two of this blog series, look for the stories under RELATED CONTENT to the left.OK, we’re back and ready to begin. When we left off, I had just installed a set of new Lollar pickups into an '80s Squier Telecaster.Now we’ll proceed with the rest of the wiring.I am following a wiring diagram that came with my upgraded four-way switch. I’ll get an “extra” sound for almost nothing.I started the process by preparing the components of the circuits. I tinned all of the lugs on the switch and the pots. I created a “ground bead” on the back of both pots. You want to try to achieve a bead shape that is tall for its size. I also pre-cut all of the wires for the length of the run and stripped away a bit of the insulation on each end; 7 mm or so is fine. You want to expose enough of the strands so you can twist them together. These twisted ends also get tinned.Heat the wire for a few moments and then run some solder into it. If the solder doesn’t flow to cover all of the exposed wire, try heating the strands a little more before running the solder into it.Follow your diagram and make the connections it specifies. If the diagram looks confusing, just take it one connection at a time. After a wire is connected at both ends to the circuit, mark it off of your diagram if it will help you keep track of what is left to do. Wiring the entire circuit cleanly might be a little difficult at first. Take it slowly and don’t forget to breathe. Speaking of breathing, the fumes from solder are not cool to inhale. There is lots of bad stuff in there that can lead to headaches, cancer, etc. Ventilate!Once all of the connections are made, it’s a good idea to use jumpers to connect the circuit to the output jack and test each switch position. Using a quality screwdriver or some other piece of steel, lightly tap on a pole piece of the pickup that is active. If you are plugged in, this should give you a clearly audible tap-tap-tap from your amp. Once everything is right, you can make the solder connections from the circuit to the output jack. Go over the entire circuit and trim back any long pieces of wire that are exposed on the lugs and then reinstall the control plate.All right! Moving on to the fret job ...This is not something to trifle with. If you aren’t up for some pretty detailed work, do a little research first. Just reading this blog post might be enough to make you re-think your plan. As far as electric guitars go, this is one of the jobs that appear simple in concept but require quite a bit of finesse and attention to detail. This is certainly best tried first on a throwaway neck.The first thing to do is remove the old frets. You will need an X-acto knife, a soldering iron and solder, fret pullers, a neck cradle and a fan for ventilation.Begin by scoring the fingerboard finish with the knife on both sides of the fret. Take it easy. Don’t cut the wood! Two light passes is better than one using too much pressure. This needs to be done only if the fingerboard is shiny with lacquer. Now tin your iron and begin heating the first fret. Flow a little solder out on the fret and move the iron from side to side. The heat helps loosen the fret in the slot and break any glue bond that may be present. It doesn’t take long for this to happen, maybe 10 seconds or less. If you heat the fret too long, it will scorch the wood underneath.Now, with the fret pullers, starting at one edge of the fret, close the “pliers” right at the point where the fret meets the wood. The fret should ease up out of the slot in that spot. Take small bites all the way across the fret until it is free. Do not try to pry the fret out by wiggling back and forth. It should come straight up out of the slot with ease. The new frets will go back into these same slots, so be gentle. Chipping is a definite possibility so take your time as you remove all of the frets.Next week, we will do some cleanup and prepare to install new frets. Until then, stay frosty!Marlin Hall is a self-taught guitarist with 27 years of experience and a strong DIY ethic, gigging on blues, cover tunes and original rock music on both coasts and in Minneapolis since 1991. Hall, a former sound engineer in Minneapolis, recently graduated from a guitar-building and repair program and provides repair and custom-guitar-building services in the Twin Cities area. For more info, visit lowstrungguitars.com.
All the latest guitar news, interviews, lessons, reviews, deals and more, direct to your inbox!
