Guitar Mods: Hot Rodding an Early '80s Squier Telecaster, Part 8
The set-up:I'm modifying an early-'80s ash-bodied Squire Telecaster that is all original and in very clean condition. Its appointments include a 21-fret maple neck, vintage-style bridge and pickups and Fender Japan branded sealed gear tuners.
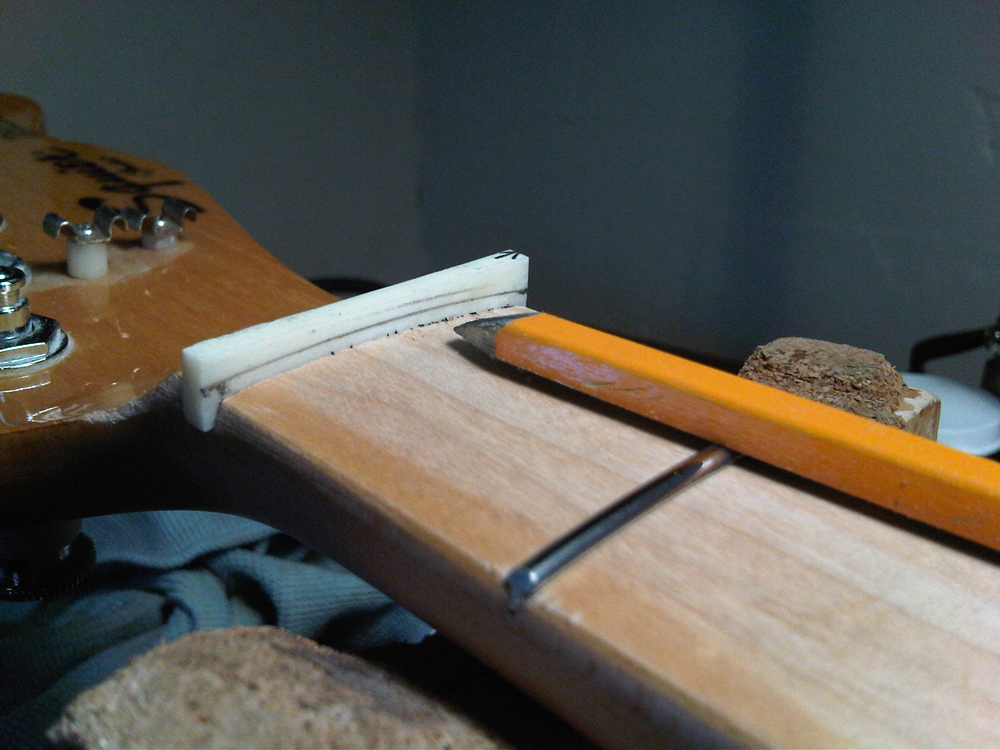
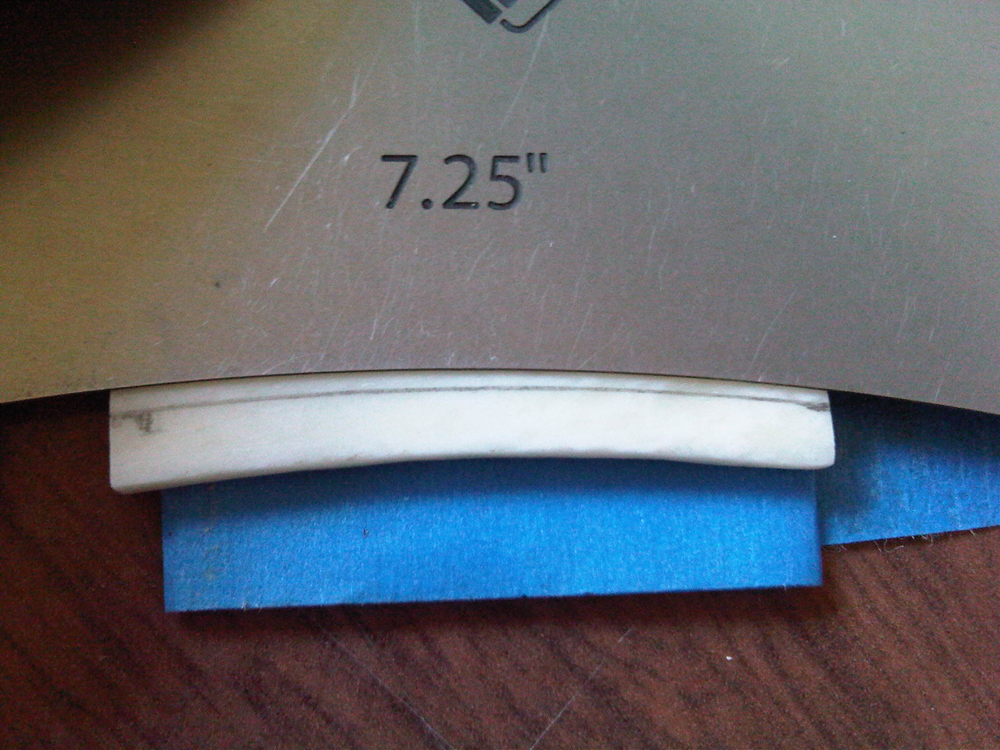
Changes I will make include installing a Callaham Vintage Tele bridge, Lollar Special-T single coils, CTS brand pots and a four-way switch. This switch allows the option of having both pickups available in series and in parallel besides either pickup by itself. Sperzel locking tuners round out the component mods and will make sure this axe stays in tune. I also will install Jescar stainless steel medium-jumbo frets and a bone nut.To check out parts one through seven of this series, look for the stories under RELATED CONTENT to the left.OK, we’re back and ready to begin. I’ve got my new bone nut fitting well in the nut slot. The ends have been trimmed down a bit, leaving about 1/16-inch overhang on either side. It is a good idea to creep toward the destination rather than cut the nut to the exact width of the slot. If you do that, there is no length left for filing and polishing without coming up short. That isn’t the end of the world, but to me it says amateur. I take my time and make it a perfect fit.The next step is getting rid of the excess material on the top of the nut. I pull out my trusty half-pencil and my 7.25-inch radius gauge. (Make your own half-pencil by sawing off the metal ring that holds the eraser and then sand the pencil along its length until you’re halfway through the lead. Lay the flat side down and, using an X-acto knife, sharpen the lead toward the flat side.) Now, with the nut seated in the slot and positioned evenly, I’ll lay the flat edge of the pencil on the frets and then move it from one edge of the nut to the other. The resulting curved line helps determine how tall the nut needs to be.The next step is a time-saver that requires precision measuring or some previous experience. We need to get rid of most of the excess height or else it will take all day to file the string slots into the nut. On the treble side, I mark at about .025-inch above and .040-inch on the bass side. Then measure up from the pencil line and then connect the dots. Using the proper radius gauge, I connect the two marks. Have a look through the photo gallery to see a clear depiction of the end result.Now I take my flat file and work away all the excess bone to just above the top line. The radius block and some 240-grit sandpaper get rid of any unsightly file marks and begins the polishing process that I will complete after all the slots are in. Now the nut is roughly the size and shape it needs to be for slotting.
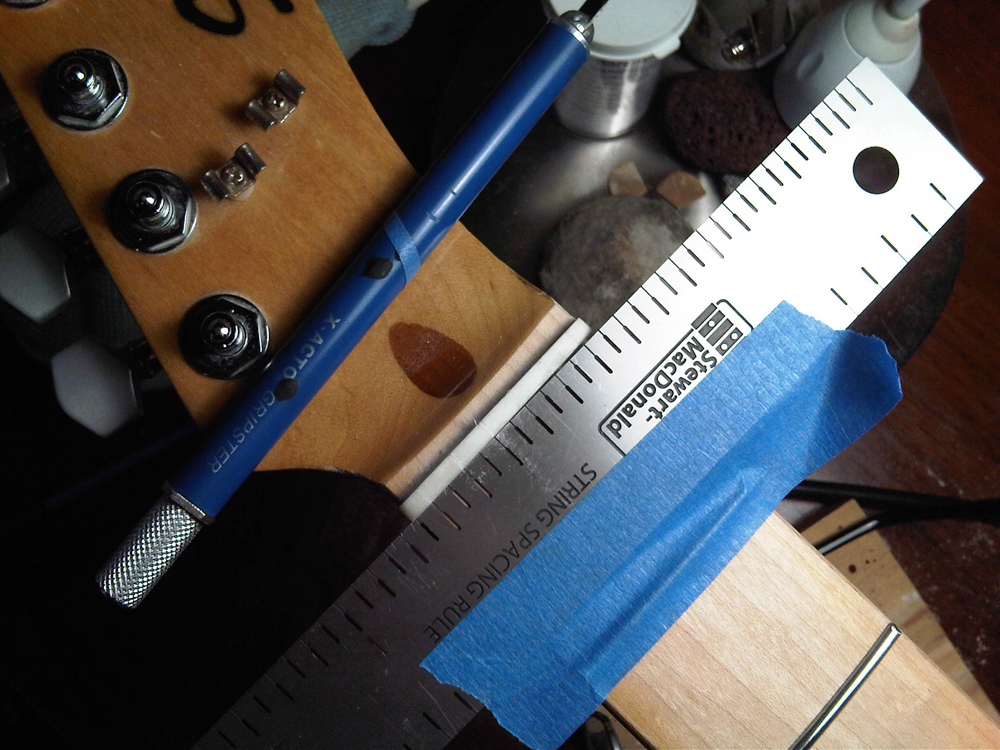
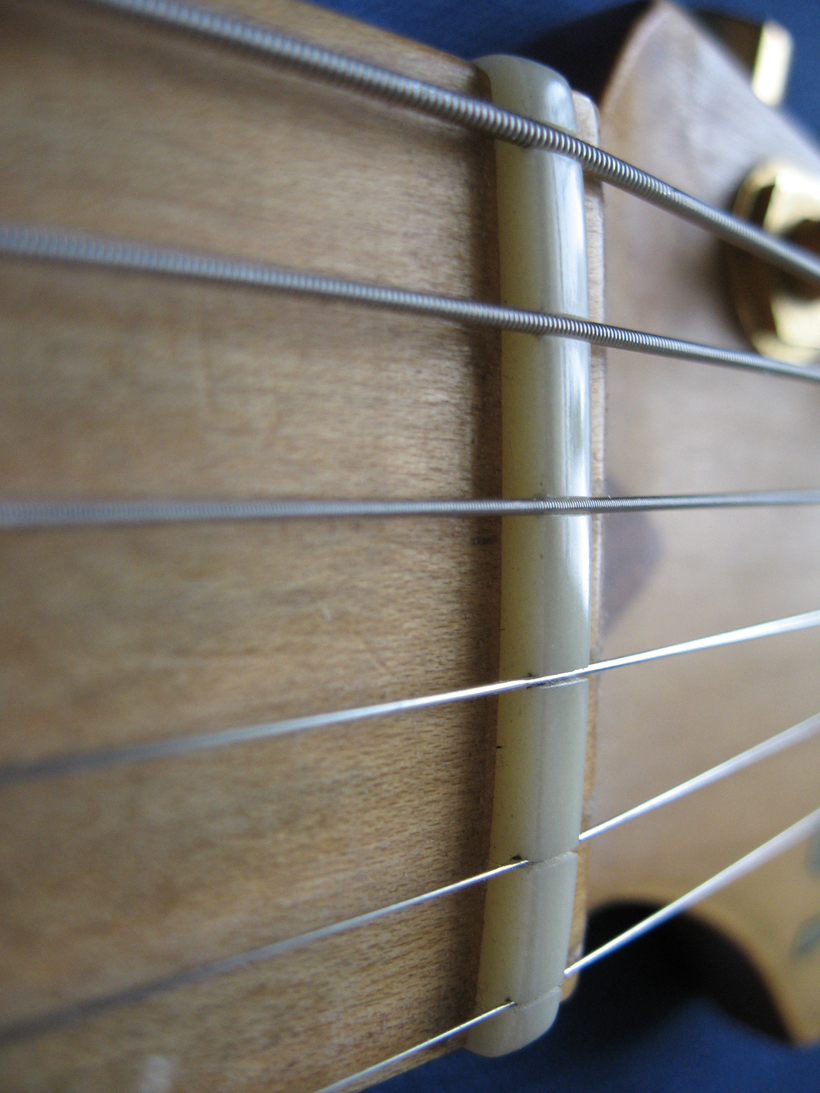
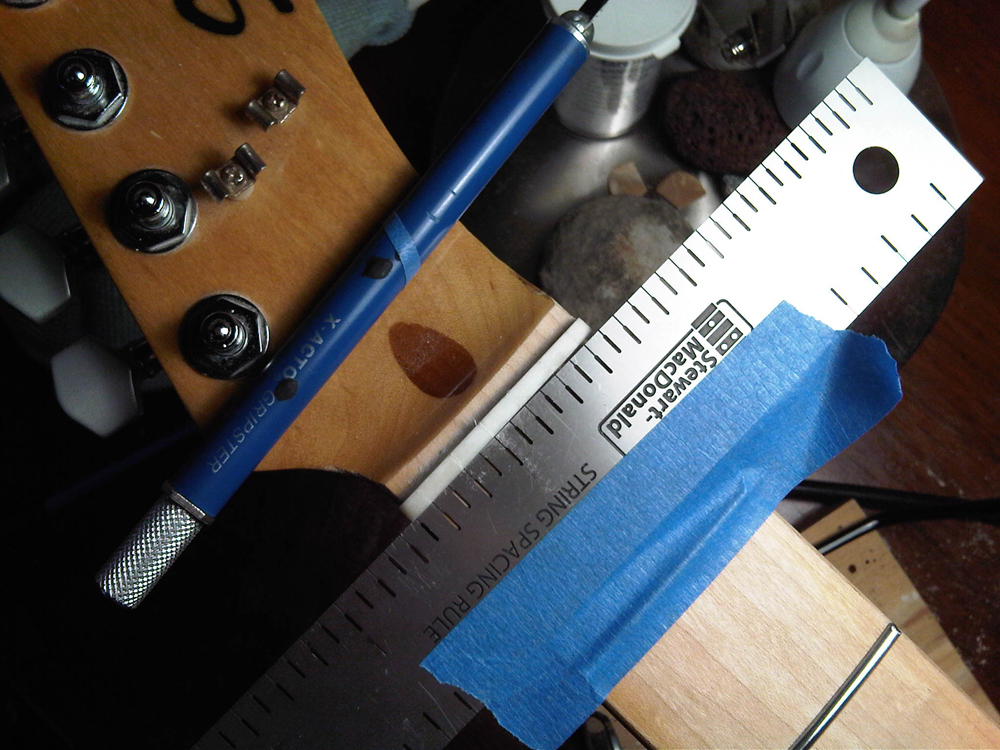
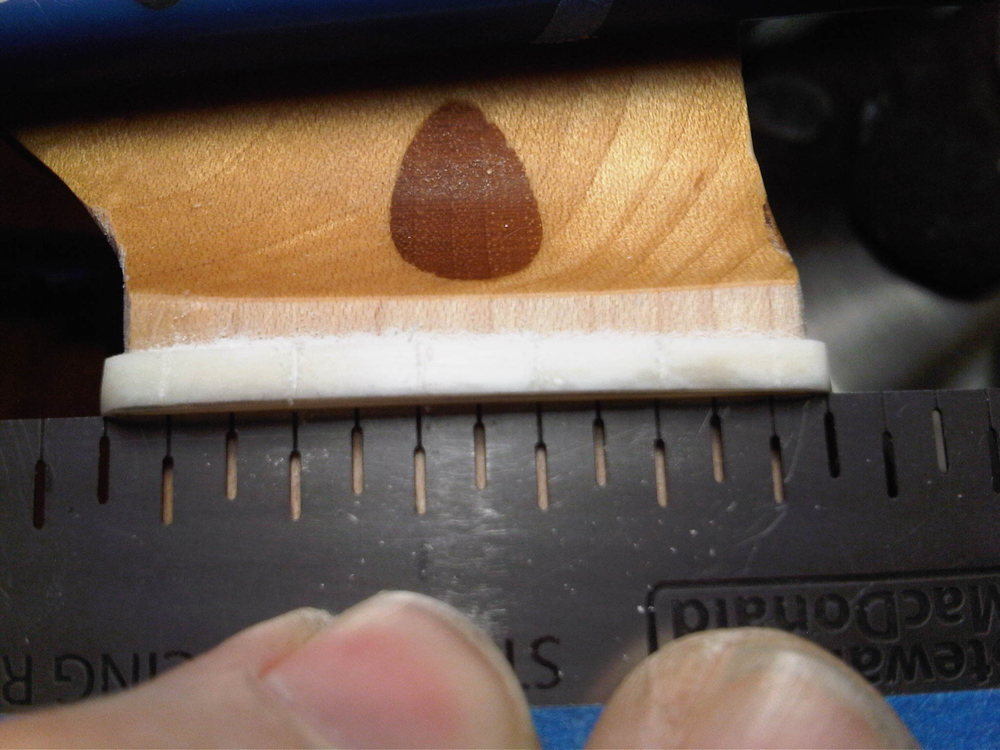
I measure in from the ends of the nut and mark where the outside strings will be. All the other slots key off of these marks. And if the outside strings are too close to the edge of the fingerboard, they will be sliding off the frets as the guitar is played. That really sucks, so I cannot overstate how important it is to get this right.A simple way to ensure this doesn’t happen is to just put the outside strings on the guitar. The bridge holds the ball-end of the string in the right spot. With the string laying over the nut and tensioned with the appropriate tuner, move the string around until you have at least 1/8-inch space between the string and the bevel of the fret ends. Notice I said bevel and not the fret end. Pay attention to this or you will wind up exactly where you do not want to be. Now mark on the bone exactly where the string rides over the nut. There are a couple of ways to make the marks for the other four string slots. You can measure the distance between the marks and divide by 5, or you can use the groovy Stew-Mac nut slot marking ruler. This cool tool takes into account the difference in string gauges from low E to high E and gives you equal spacing no matter how wide your nut is. It works on any guitar or bass with single courses. It does not work for a 12-string or a mandolin, both of which have two courses per string. Notice that the slots in the ruler alternate long-short-long-short. I move the ruler around until I see my two marks through the outside slots, either the long ones or the short ones (but not both) and have four other slots (again long or short) between the outside ones. Confused? See the photo gallery below for clarification. Mark the locations with an X-acto knife.Next time, we file.Marlin Hall is a self-taught guitarist with 27 years of experience and a strong DIY ethic, gigging on blues, cover tunes and original rock music on both coasts and in Minneapolis since 1991. Hall, a former sound engineer in Minneapolis, recently graduated from a guitar-building and repair program and provides repair and custom-guitar-building services in the Twin Cities area. For more info, visit lowstrungguitars.com or timbuildsguitars.blogspot.com.
All the latest guitar news, interviews, lessons, reviews, deals and more, direct to your inbox!
