Hot Rodding an Early '80s Squier Telecaster, Part 10: Setting Up
The set-up:I'm modifying an early-'80s ash-bodied Squire Telecaster that is all original and in very clean condition. Its appointments include a 21-fret maple neck, vintage-style bridge and pickups and Fender Japan branded sealed gear tuners.
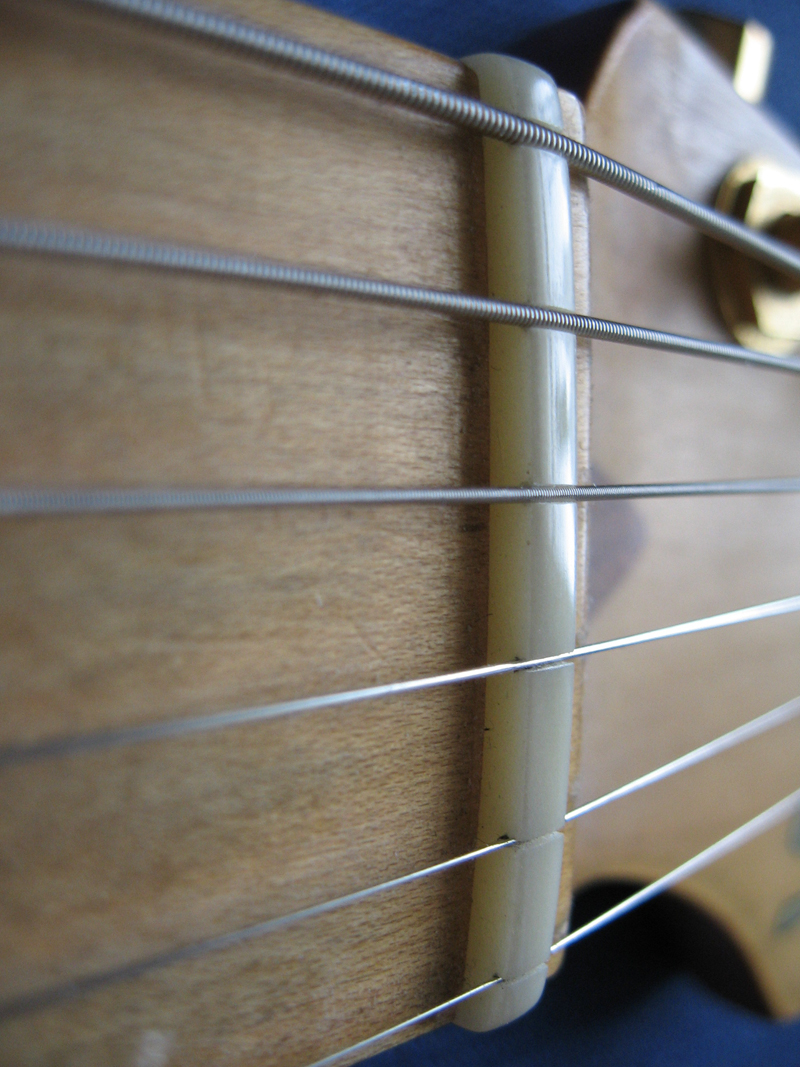
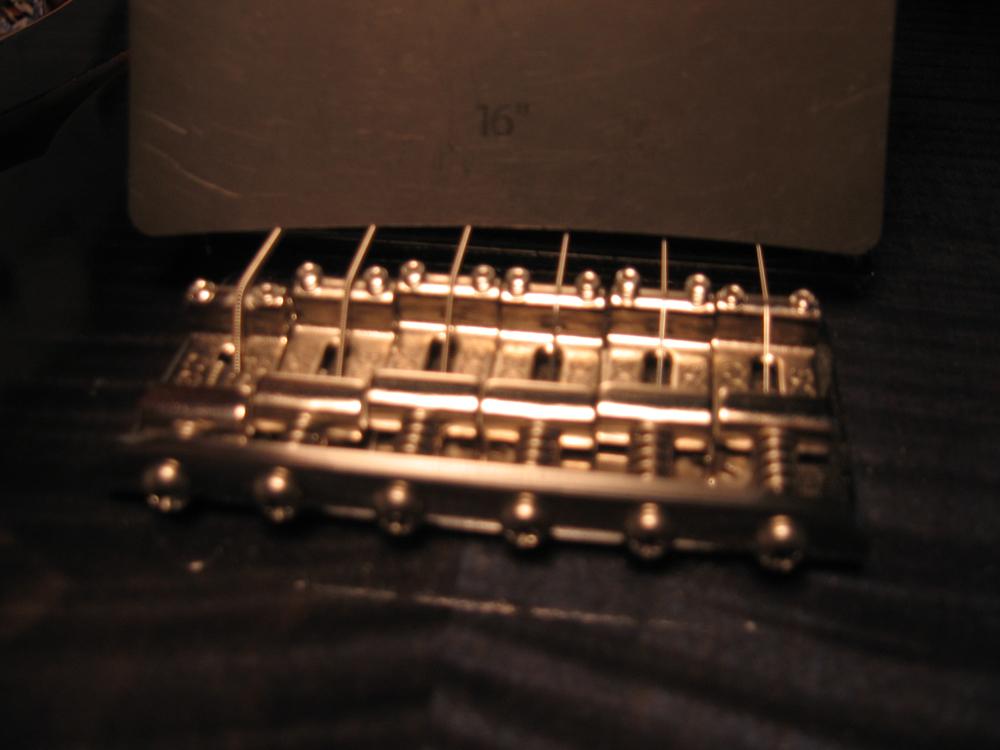
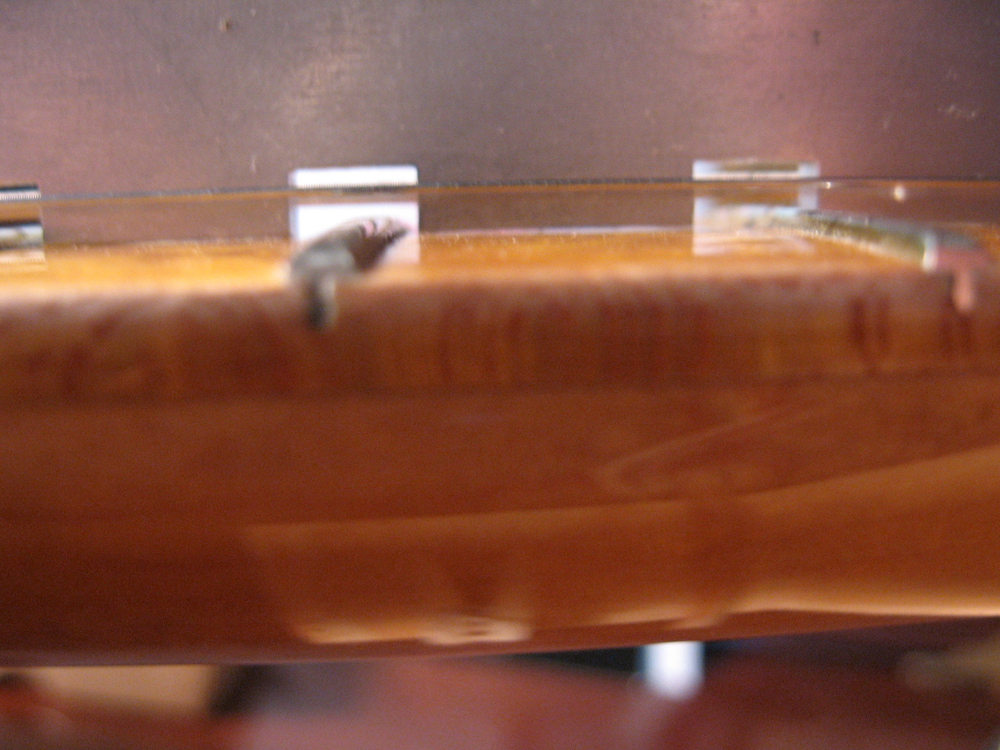
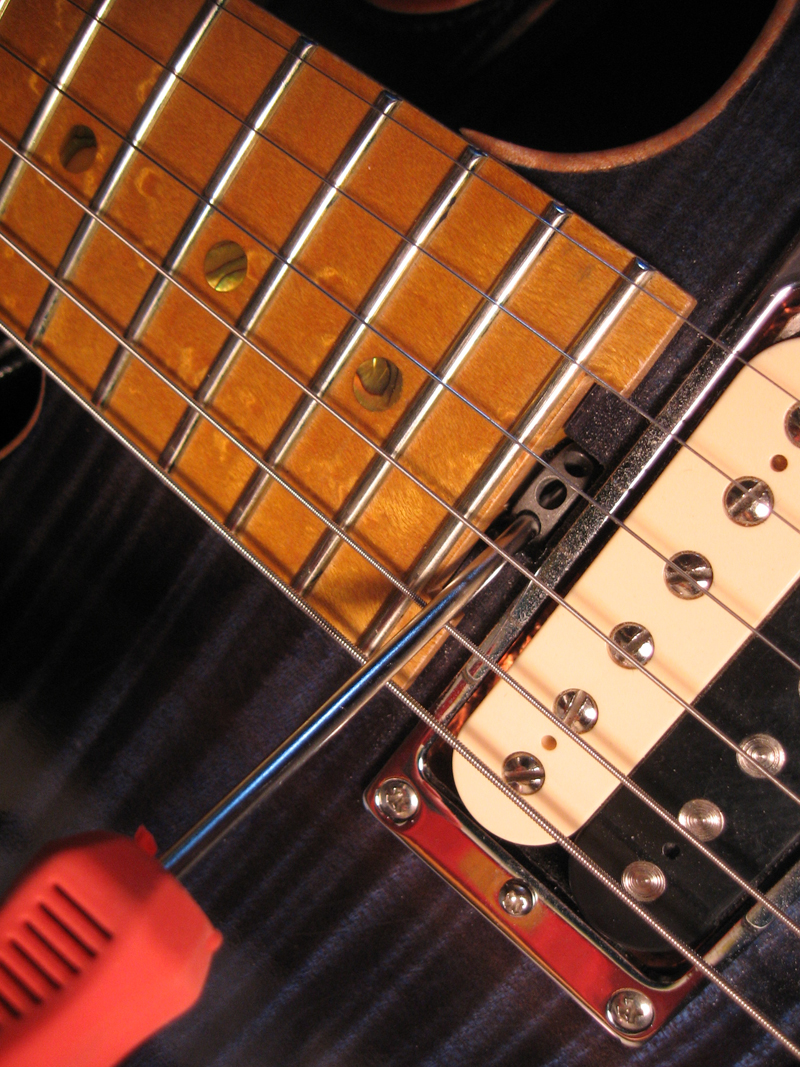
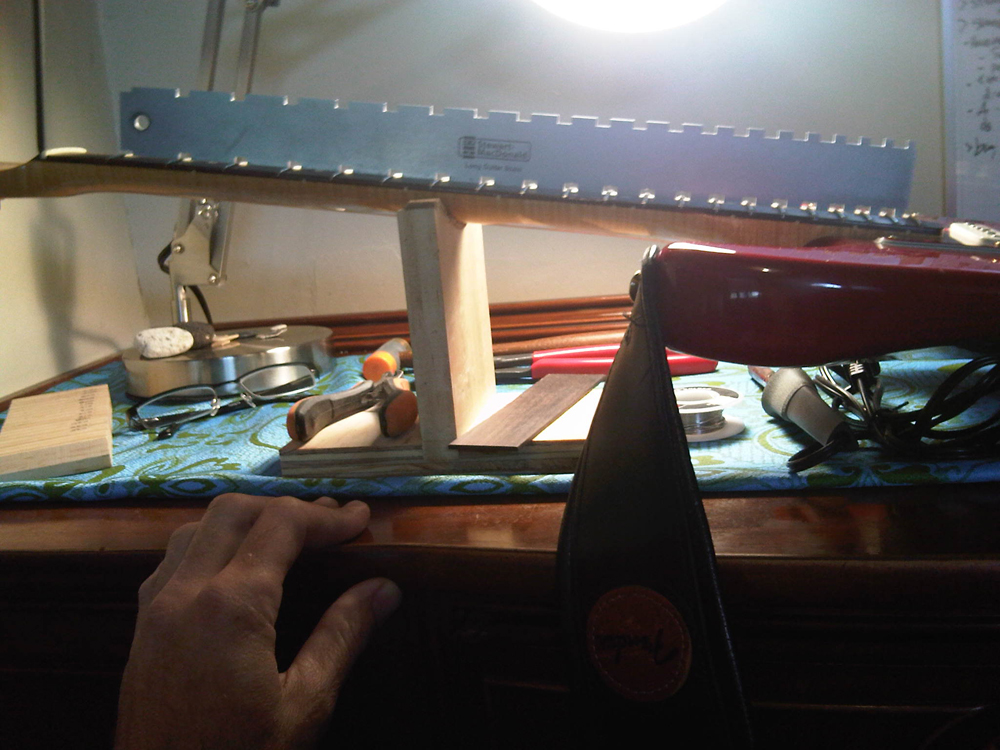
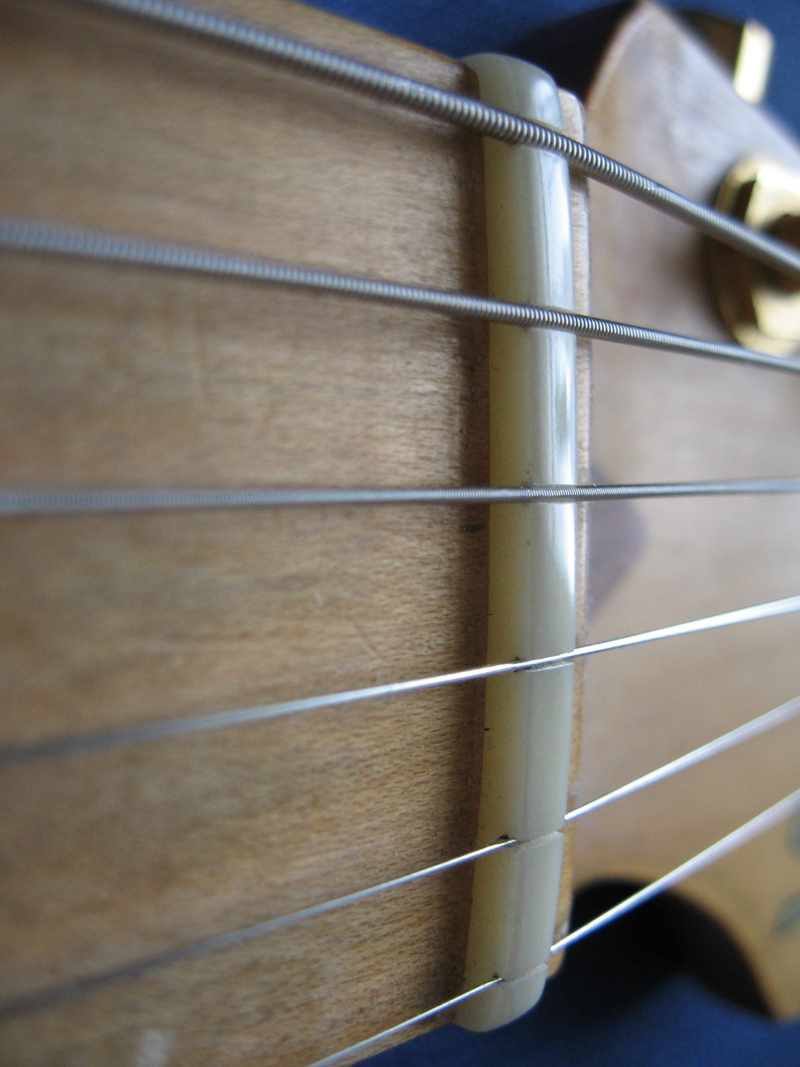
Changes I will make include installing a Callaham Vintage Tele bridge, Lollar Special-T single coils, CTS brand pots and a four-way switch. This switch allows the option of having both pickups available in series and in parallel besides either pickup by itself. Sperzel locking tuners round out the component mods and will make sure this axe stays in tune. I also will install Jescar stainless steel medium-jumbo frets and a bone nut.To check out parts one through nine of this series, look for the stories under RELATED CONTENT to the left.OK, we’re back and ready to begin.The final slot depths are somewhat a matter of taste on the part of the player, and a matter of skill on the part of the guitar tech. A tiny fraction of an inch deeper or shallower can make a big difference in action, especially in the first five frets or so. A slightly higher slot yields a more lively action in this area of the neck. I like this for sliding around into open strings for country or blues licks. For a player who prefers an “effortless” feel, I might go a little lower.Once the depths are satisfactory, it’s time to polish the exterior of the nut. I like a nut to look like a smooth sculpture work. To me, this means no single aspect of the nut draws attention to itself. All lines flow into each other, curved surfaces mimic those of the neck and there are no sharp corners, with one exception: The face that points toward the bridge should show a 90-degree angle to the top of the nut. I use small, smooth-cut files to shape the corners. They should round into the sides of the nut in a graceful arc. These files should leave a satin finish on the nut and require very little light sanding to bring out a slight sheen. I might start with 400-grit paper and run through 600. There are micro-grit finishing abrasives available from Stew-Mac.com that run from 800 through 12,000 grit. These will give a high lustre to nuts, frets and more, if you choose. I’ve finished the nut and I'm ready to move on to the setup. I’ll start by stringing up with new strings. The owner likes D’Addario XL110s tuned to Standard.At this point, I check the relief (or bow) of the neck using my notched straight-edge. This tool has cut-outs that go over the frets, allowing a true reading of the fretboard surface, rather than the frets. I like a neck with only a small amount of bow. I adjust the truss rod to achieve this, using the righty-tighty method. Tightening reduces neck bow and loosening increases it. Too little bow can yield fret buzz and too much makes for high action and difficult playing. I start in the middle ground. To get there, sight down the bass side of your neck, looking at the relationship between the bottom of the string and the curvature of the fret board. You should notice some curve between the first and fourth frets and then the neck should mostly straighten out. After making this adjustment, re-tune the guitar to make sure you are working with proper string tension.Filing the proper slot depths adjusts the action of frets one through five. Adjusting the truss rod handles fret six up through the first octave. Adjusting the saddle heights takes care of the rest of the neck. I start by adjusting the outside strings to a comfortable height. Again, defer to the player's taste. You want the low-E string saddle to be a little higher than the high-E string saddle. This is because the low E has a greater elliptical “excursion” than the high E. This means that, while vibrating, the low E moves more than the high E.I use a radius gauge to adjust the heights of the remaining saddles. This helps me ballpark a smooth curve that follows the same radius as the finger board. I place the appropriate radius gauge, in this case 7.25 inches, to rest on the E strings at the saddles. From here, it’s a matter of adjusting the A-, D-, G- and B-string saddles so that the strings resting on them follow the curve of the radius.It’s important to note that the tools help get you into the ZIP code of a good setup, but the final “feel” of the action is what is important. After a measured, precise setup, I always go back and do little tweaks to make the action easy and natural.Next time, I’ll set the intonation, take care of a cosmetic issue and do a final inspection to make sure this axe is ready to go home. See you then.Marlin Hall is a self-taught guitarist with 27 years of experience and a strong DIY ethic, gigging on blues, cover tunes and original rock music on both coasts and in Minneapolis since 1991. Hall, a former sound engineer in Minneapolis, recently graduated from a guitar-building and repair program and provides repair and custom-guitar-building services in the Twin Cities area. For more info, visit lowstrungguitars.com or timbuildsguitars.blogspot.com.
All the latest guitar news, interviews, lessons, reviews, deals and more, direct to your inbox!
