11 ways to improve your tube amp tone
Under-the-hood improvements and careful speaker selection can secure that sound you’ve been searching for
All the latest guitar news, interviews, lessons, reviews, deals and more, direct to your inbox!
You are now subscribed
Your newsletter sign-up was successful
So you’ve got a tube amp and you love it, but over time you get to thinking that perhaps its tone isn’t what you are looking for. Don’t despair. And don’t start succession planning just yet. Here, we are going to take a look at some of steps we can take to get the most out of your amp.
Some of the following tone tips fall under the category of mods you need a pro tech for – as ever, when dealing with high-voltage equipment, discretion is the better part of valour. Others are the kinds of things we can all do. But all of them might just save the relationship between you and your amp, and help you find a new tone to inspire your playing.
1. Tone controls
Those ‘perfect’ amp settings, carefully dialled in at home, rarely translate to other environments. In an echoey and bright-sounding room, you may need to reduce treble and presence, and if your amp is tucked into a corner, the bass and middle controls can minimise boom and clutter.
Volume levels also affect our frequency perception, so bass may need a boost at low volume and treble can be strident at high volume. Don’t be afraid to use your ears and your equalisation controls to optimise your tone in different environments.
2. Get biased
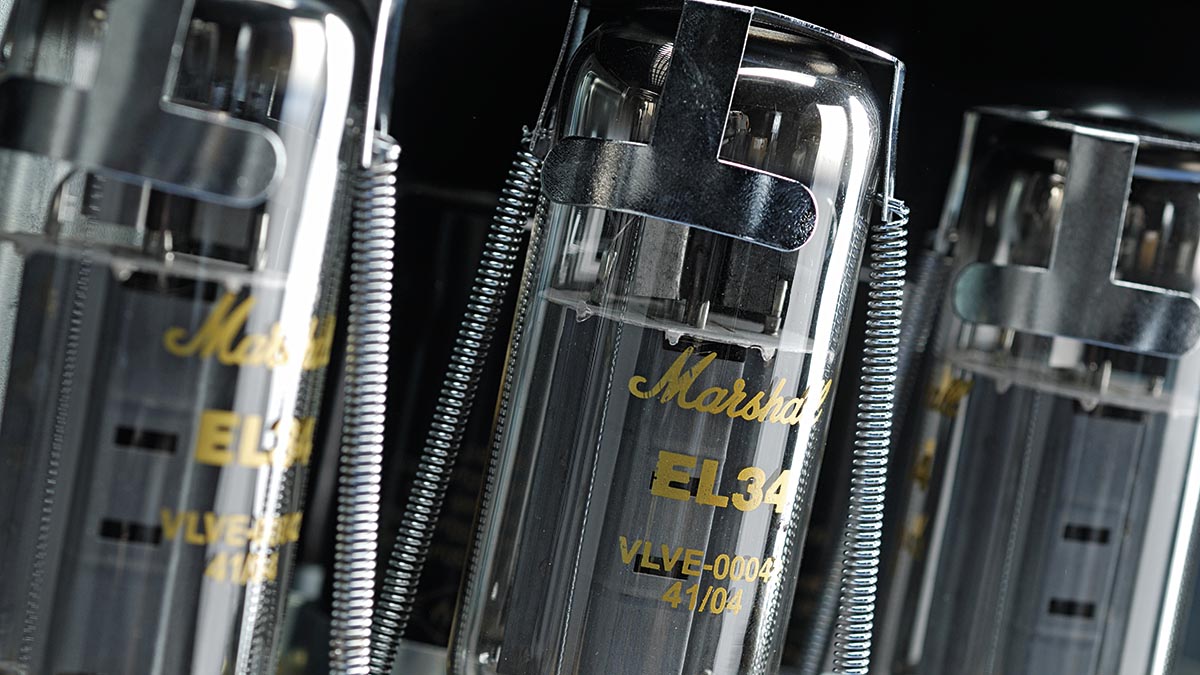
Power tubes are designed to run within specified parameters and there is a bias range – typically cold to hot – in which the tubes can operate safely. For high clean headroom and punchy dynamics, try having them biased towards the cooler end. But be aware that if set too cool, the amp will sound sterile and bland.
If you prefer power tube overdrive and a softer dynamic response, a hotter bias may suit you, but excessively hot bias will shorten tube life. It’s a job best left to a pro, but discuss your preferences beforehand.
3. Dodgy tubes
Have you ever noticed odd metallic tinkling sounds or a high-pitched ringing coming through your speakers when you’re playing loud? If so, one or more of your tubes is probably microphonic. It’s most noticeable with preamp tubes towards the front end of the signal path because every subsequent stage amplifies the noise.
All the latest guitar news, interviews, lessons, reviews, deals and more, direct to your inbox!
Remove any metal covers, turn your amp on and gently tap the tubes with a wood or plastic chopstick. Microphonic tubes will amplify the tapping so you can identify which need replacing.
4. Tube 1 swap
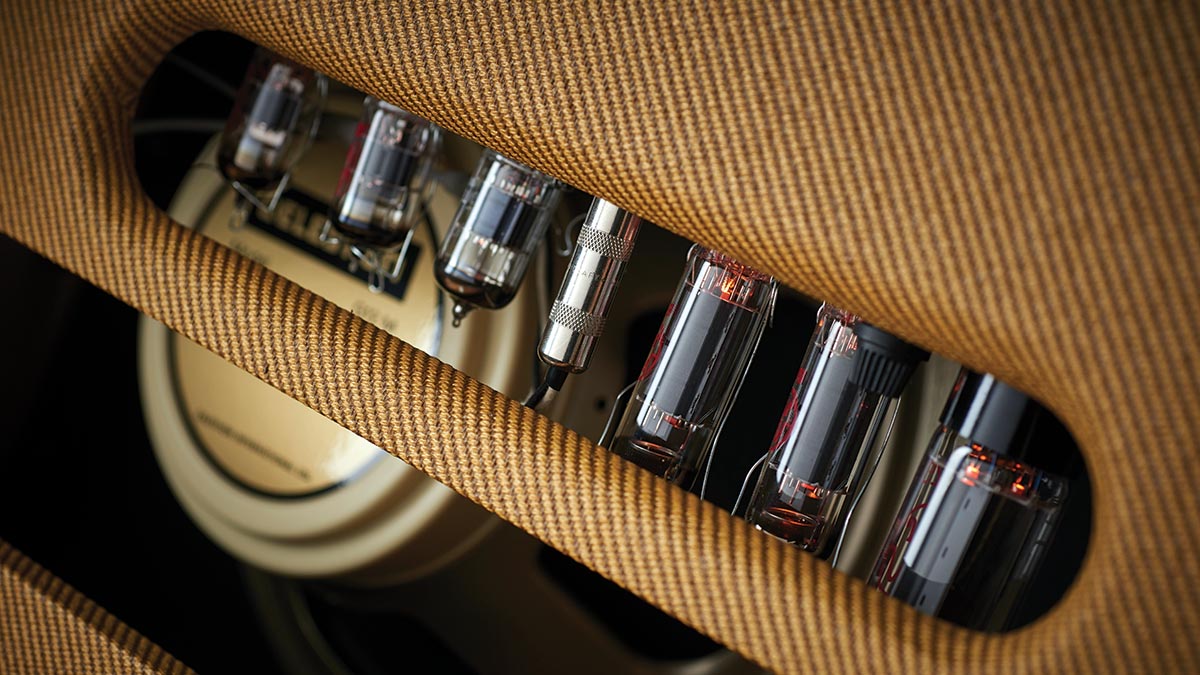
Unlike power tubes, most preamp dual-triodes can be substituted for one another. The 12AX7/ECC83 is by far the most common, but many Tweed Fender circuits were designed for a lower gain 12AY7/6072a in the first position and a 12AX7 can be substituted for additional gain.
If you’re struggling for clean headroom, try a 12AY7 in place of a 12AX7, and if that proves too underpowered, a 5751 with a gain factor of 70 may be ideal. Turn your amp off when you’re swapping tubes and try not to bend the pins.
5. Bright caps
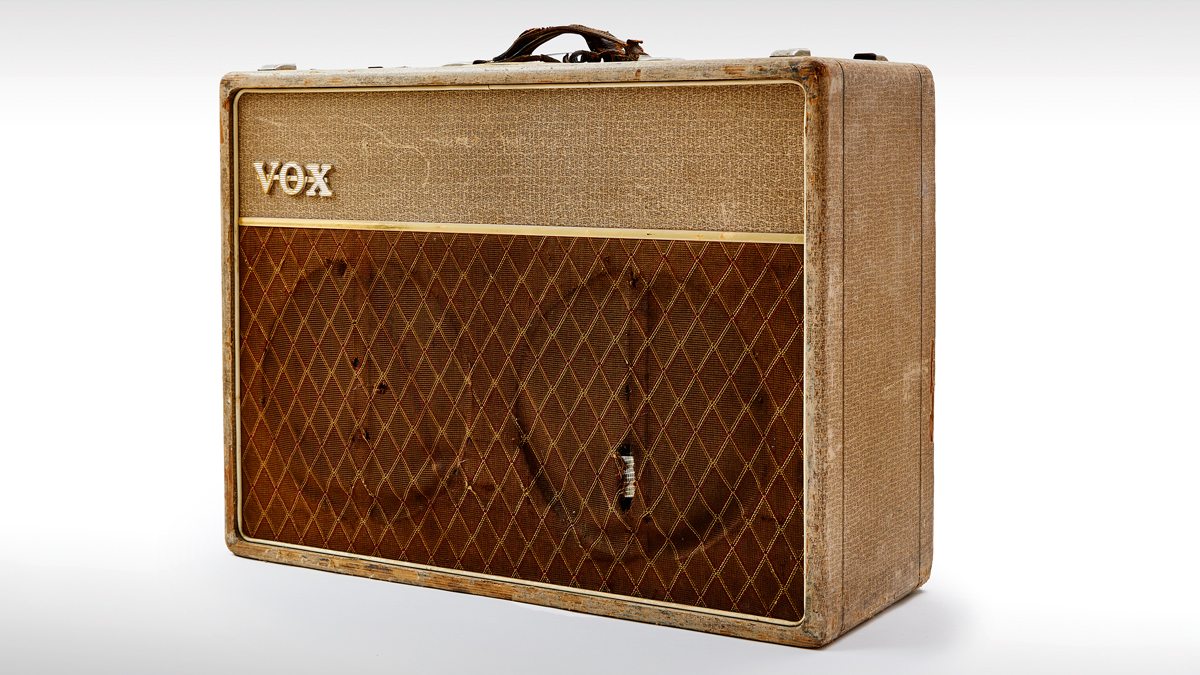
During the 1950s, Fender introduced ‘bright caps’ and later made this a switchable feature. Functioning much like a treble bleed capacitor, bright caps have been used on various Fender, Marshall, Matchless and Mesa/Boogie amps.
Excessively bright amps may benefit from having a bright cap modified or removed altogether, while naturally dark amps such as vintage Vox models can be opened up by having one fitted.
6. Speaker swap
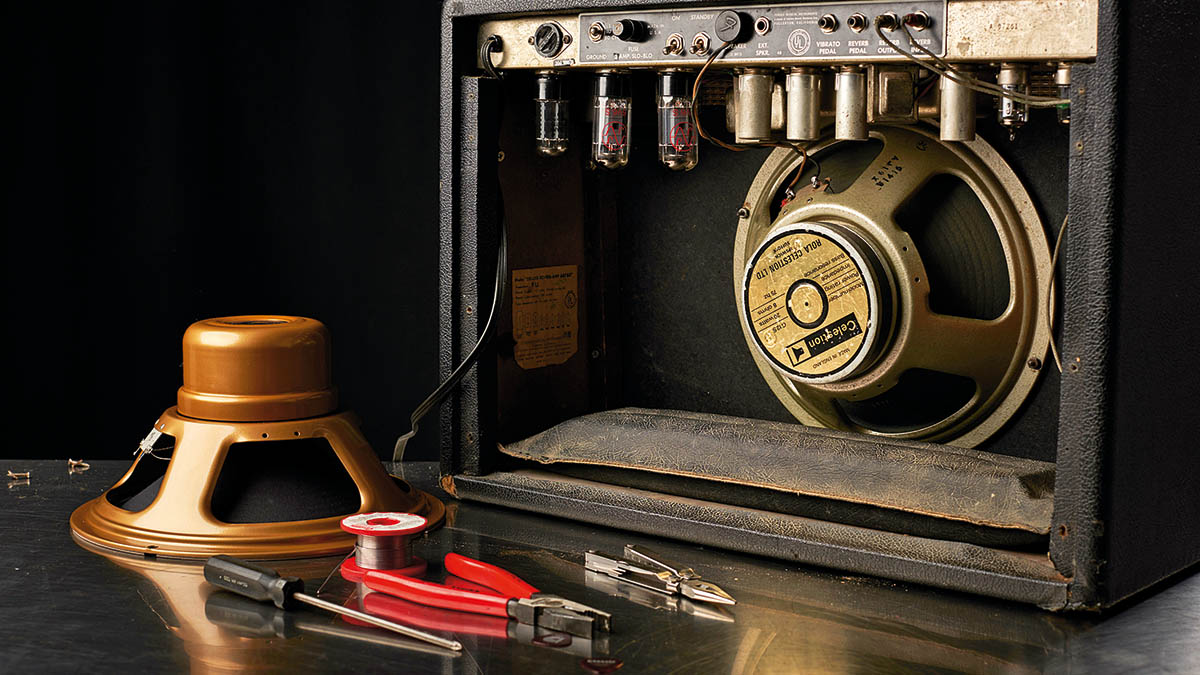
Guitar speakers all have distinct sonic attributes that are mostly attributable to their midrange voicing and they exert a dramatic effect on guitar tone. Some are very bright, which will open up dark-sounding amps but can sound harsh with naturally bright amps.
Some are loose and flabby, while others are engineered for bass definition with attenuated treble. High-sensitivity speakers will also make any amp sound louder and provide additional clean headroom for lower powered amps. The key is to combine amplifiers and speakers with complementary characteristics.
7. Attenuation advantages
Most tube amps have a ‘sweet spot’ that can only be enjoyed when the volume reaches a certain level. Unfortunately, that level is often too high for home and stage use, too.
Overdrive and compressor pedals can compensate to some extent, but it’s not the same. An attenuator can provide the solution and, so long as you aren’t using it to make things whisper-quiet, you can enjoy your amp’s full fat saturation with no detriment to its tone.
8. Rectifier swaps
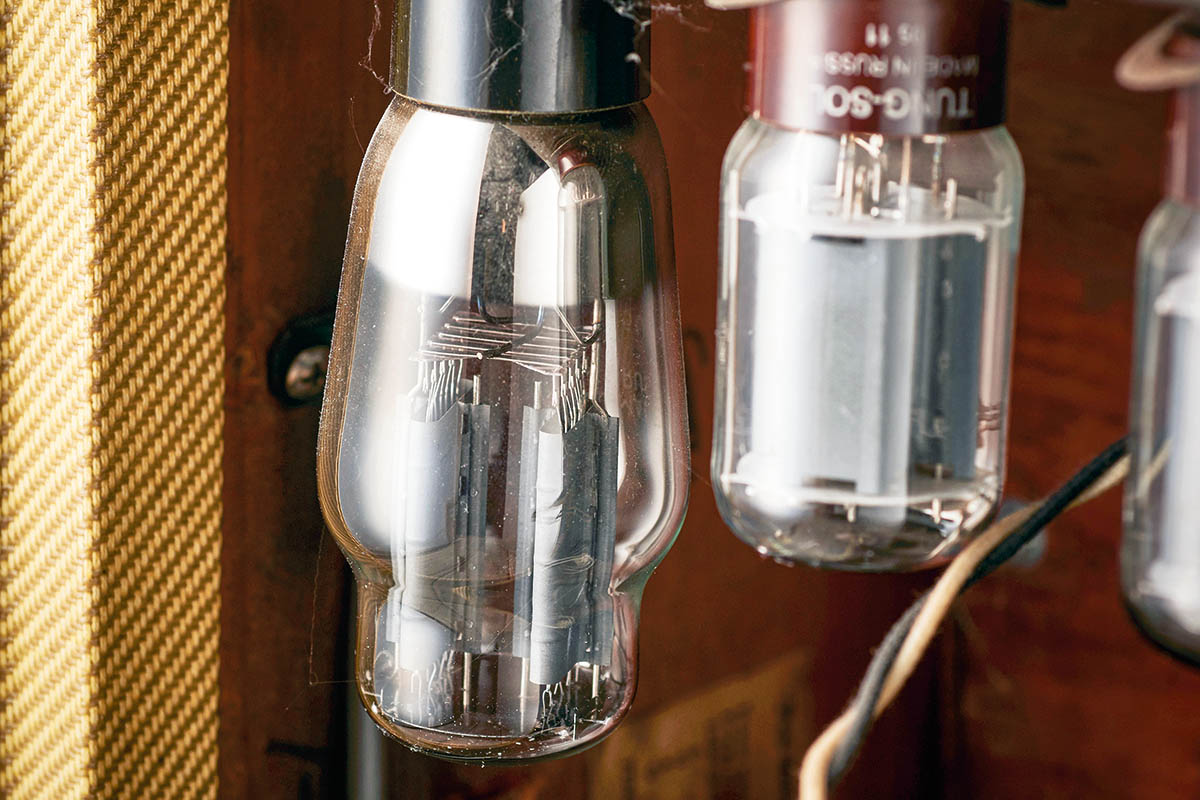
Rectifier tubes are used to convert the AC supply into DC and supposedly identical rectifiers can output significantly different voltages. Higher HT voltages will make an amp cleaner and punchier, while lower voltages result in earlier overdrive and more sag. If you want the former, get your amp checked and install a better tube rectifier or solid-state plug-in rectifier if needed.
A 5Y3 rectifier can sometimes be replaced with GZ34/5R4 to increase HT voltage, and a 5V4 or 5Y3 can be used instead of a GZ34/5AR4 to lower voltages. A tech should ensure your amp can cope with the rectifier’s current draw and verify the bias after swapping.
9. Tightening up the bass
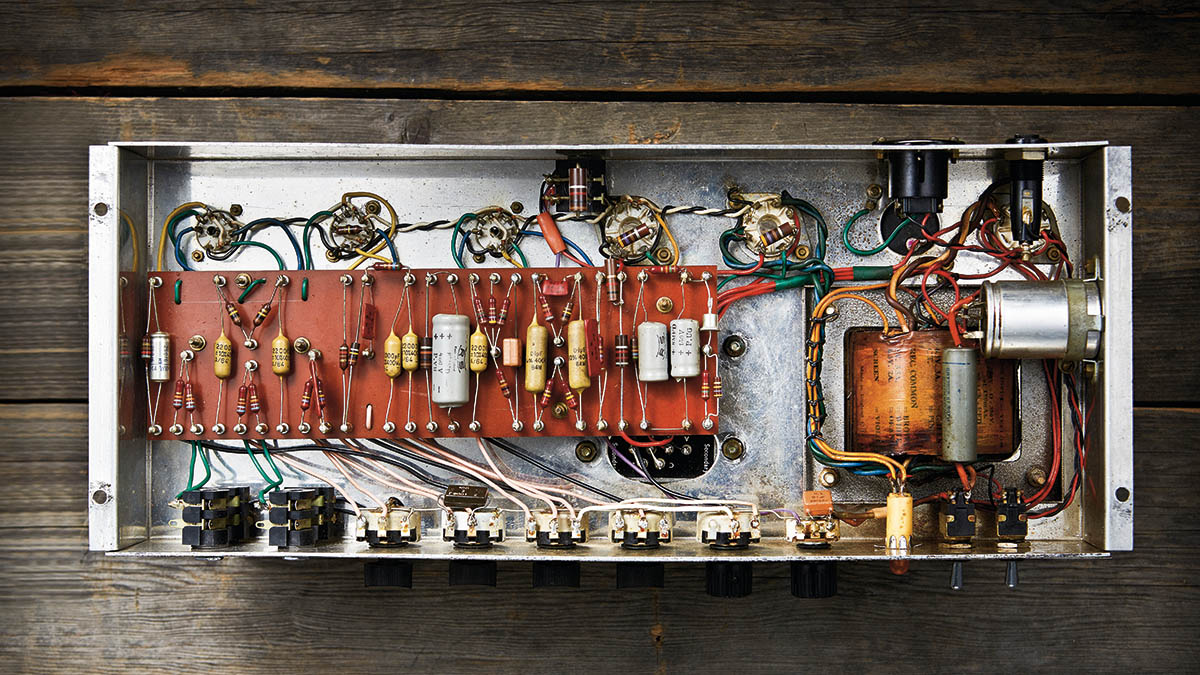
Lots of vintage-style amps work very well at lower volume levels and in recording situations but get over-compressed and saggy when they’re cranked up to gig volume.
Often these amps have relatively puny filter caps rated at 8µF or 16µF. Upping the values to 22µF is a common mod that tightens up the bass response and reduces compression, but check this over with a qualified tech before modifying your amp.
10. Bass control
Some amps are naturally too bassy, while others sound bass-light. Sometimes a speaker swap can reveal that the amp passes too much low-frequency content; for instance, converting a Princeton Reverb from a 10-inch to a 12-inch speaker.
Although it’s a job best left to a qualified tech, the excess bass can be corrected by removing the stock signal capacitors and installing replacement caps with smaller values. This is a great fix for the famously flabby 5E3 Deluxe circuit.
11. Quality cable
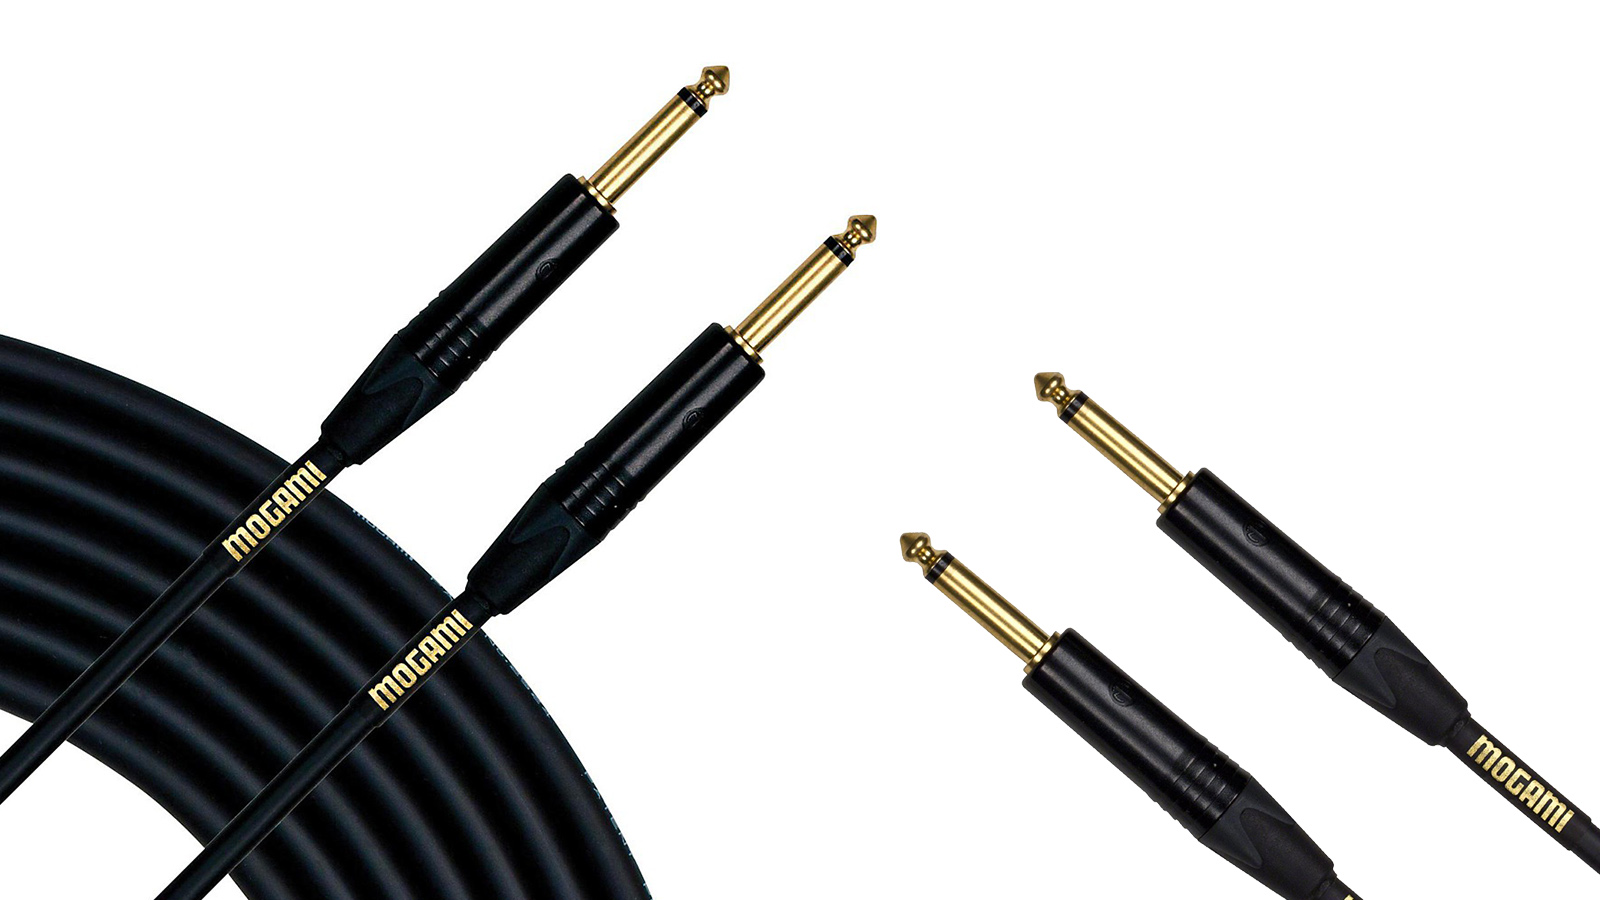
Assuming you’re not using a wireless transmitter, you’ll need a cable to connect your amp and guitar. Unlike speaker cables, guitar cables are shielded and the two basic requirements are low resistance to retain signal strength and low capacitance to minimise treble loss.
A decent-quality cable is an upgrade for all your guitars and so long as you don’t fall for all the snake oil and pseudo-science, you don’t have to spend a fortune.
