Guitar Mods: Hot Rodding an Early '80s Squier Telecaster, Part 5
The set-up:I'm modifying an early-'80s ash-bodied Squire Telecaster that is all original and in very clean condition. Its appointments include a 21-fret maple neck, vintage-style bridge and pickups and Fender Japan branded sealed gear tuners.
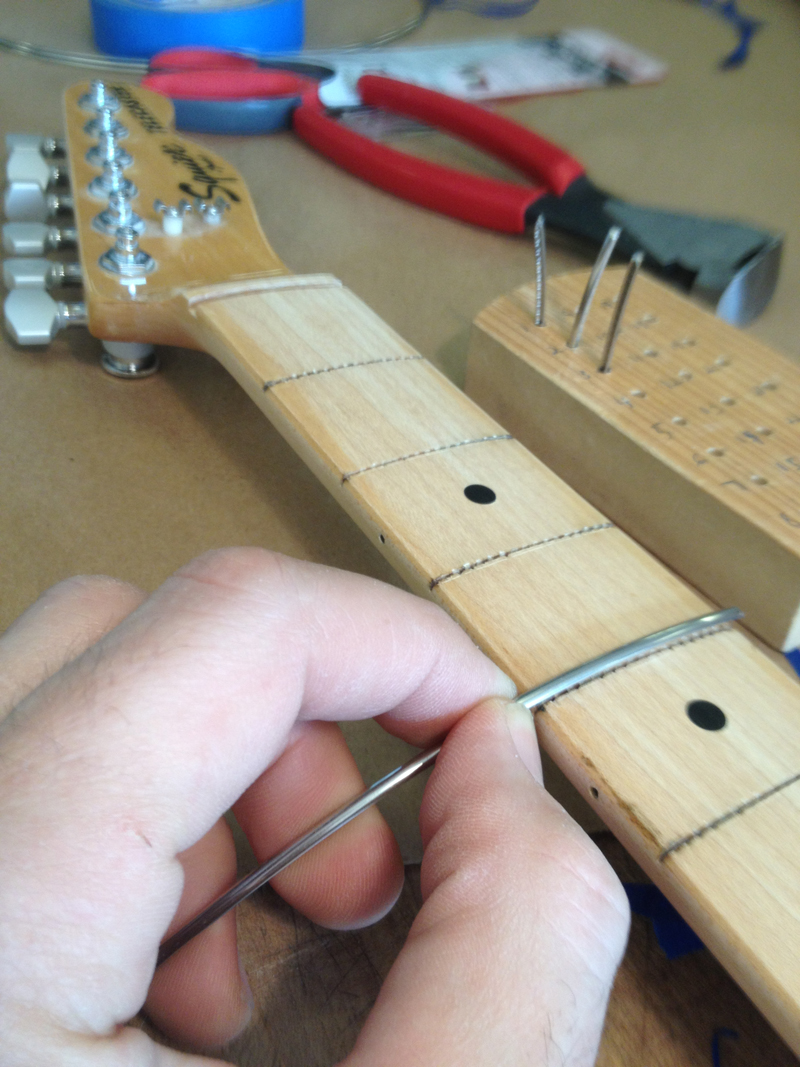
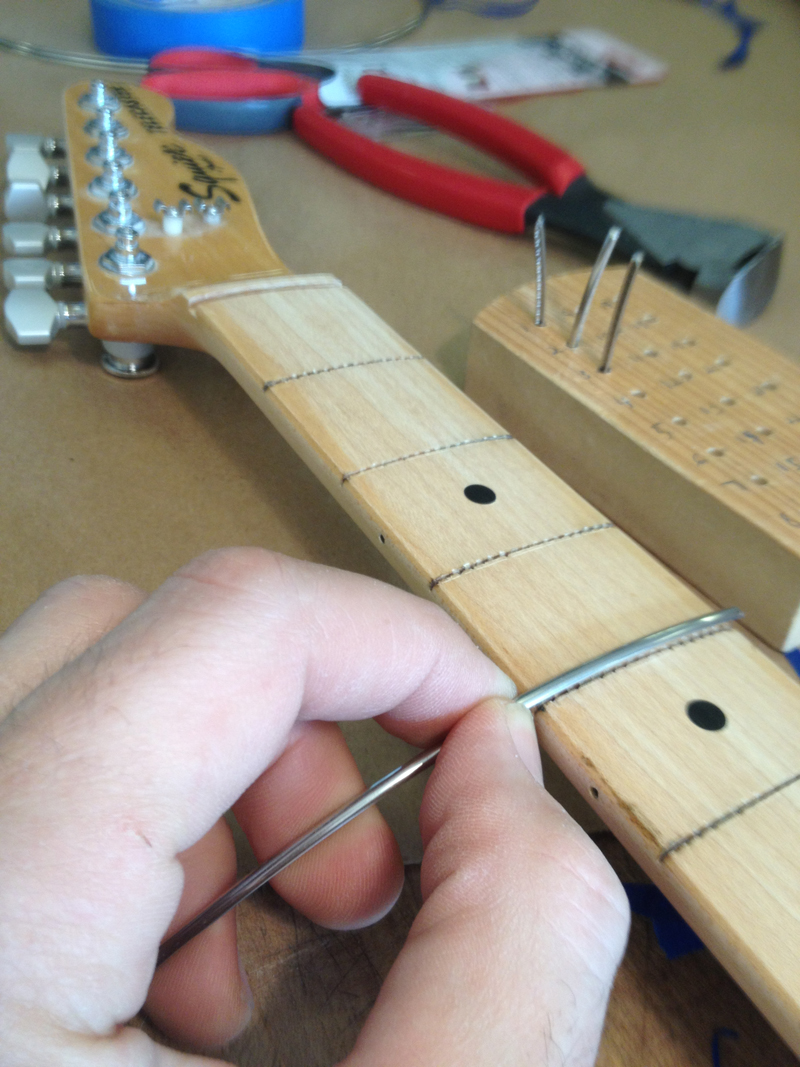
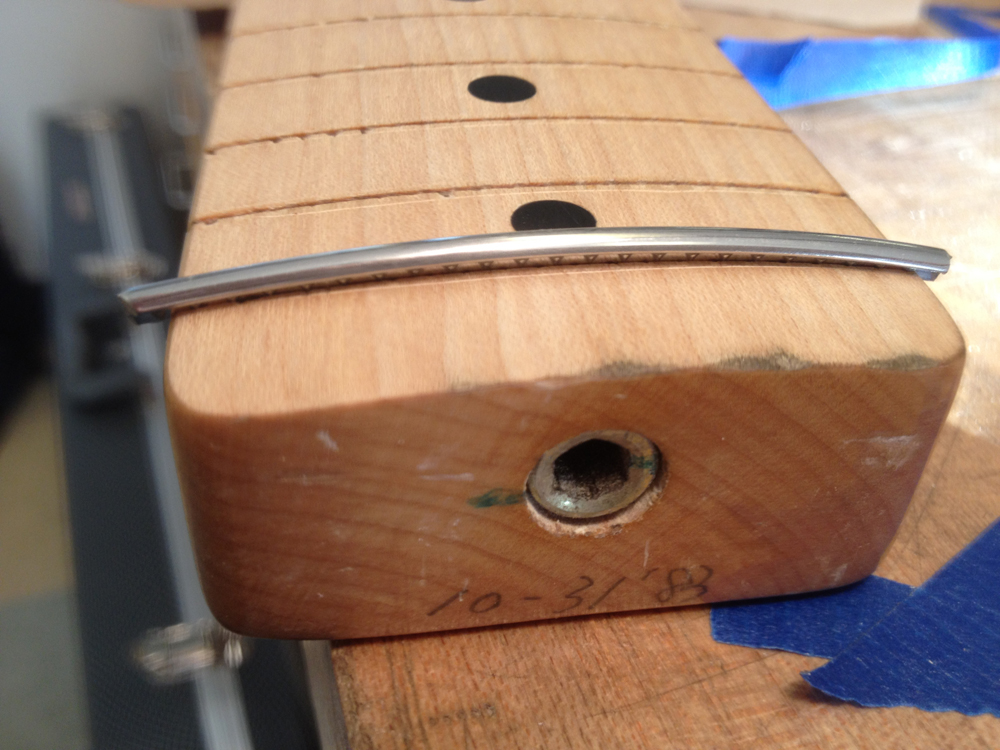
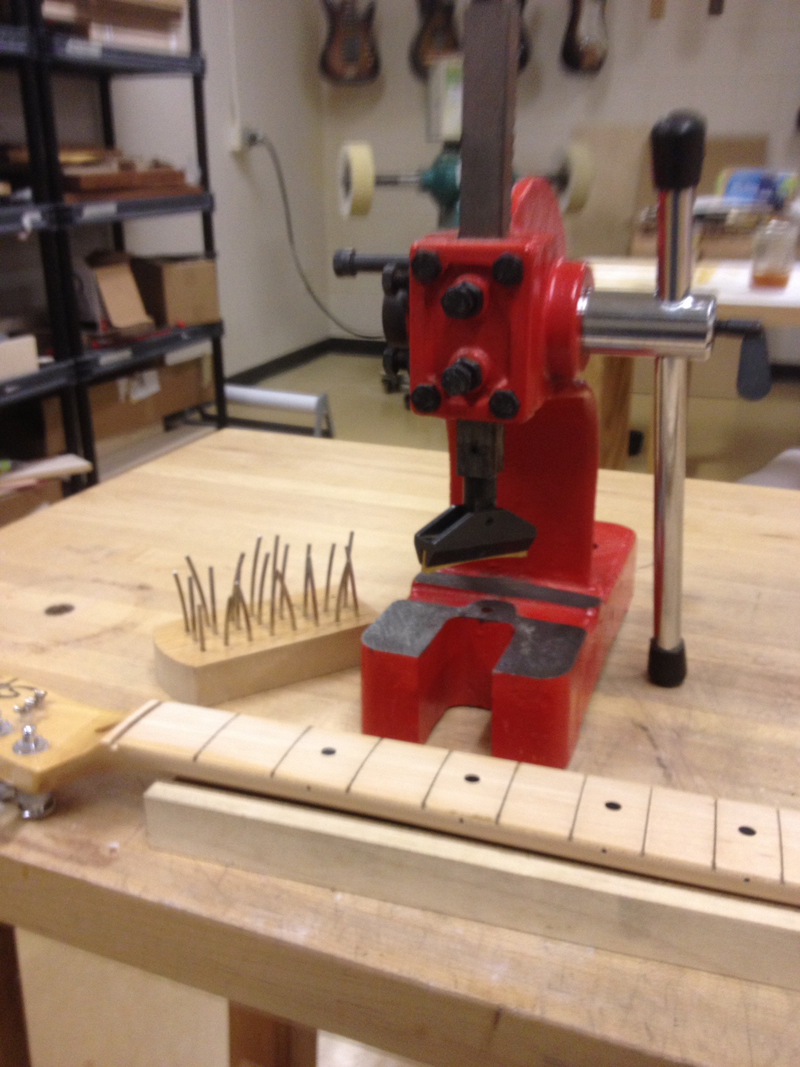
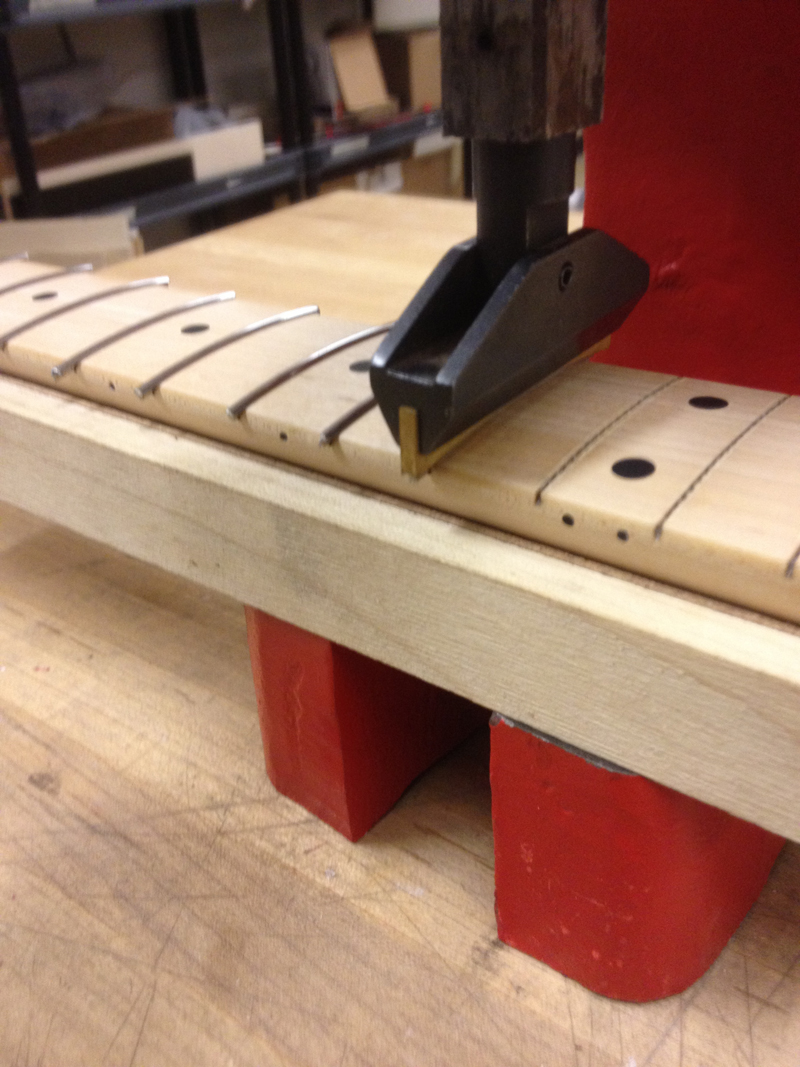
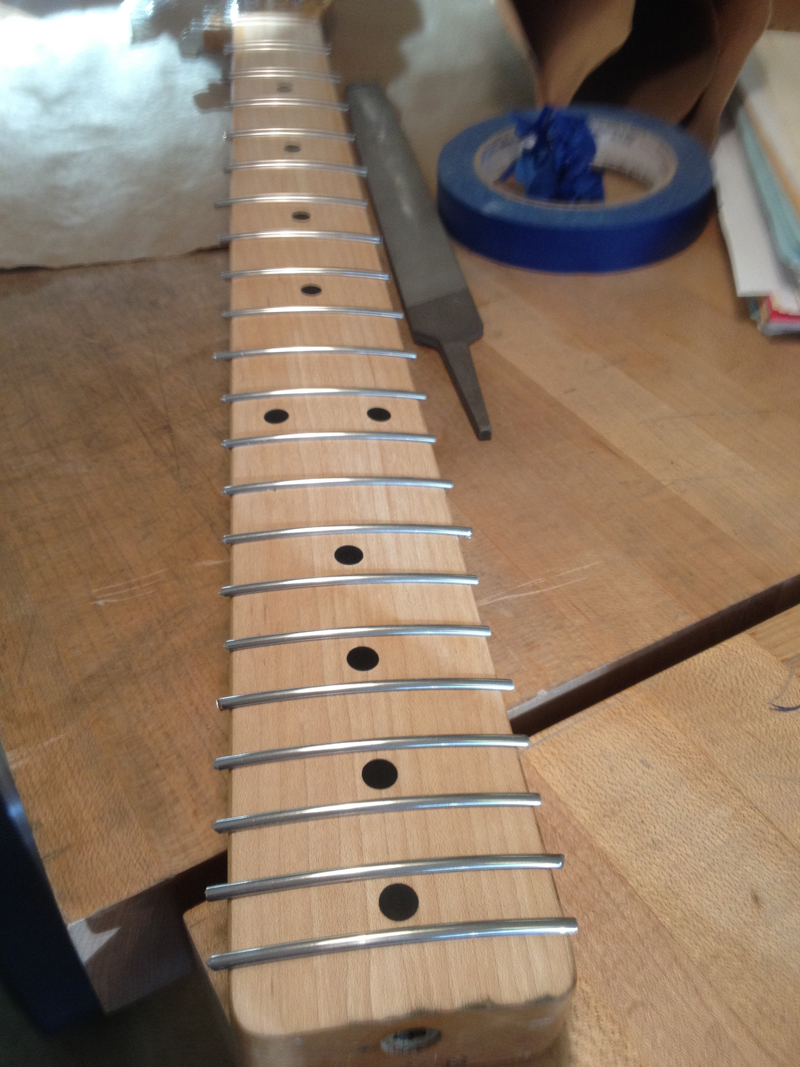
Changes I will make include installing a Callaham Vintage Tele bridge, Lollar Special-T single coils, CTS brand pots and a four-way switch. This switch allows the option of having both pickups available in series and in parallel besides either pickup by itself. Sperzel locking tuners round out the component mods and will make sure this axe stays in tune. I also will install Jescar stainless steel medium-jumbo frets and a bone nut.To check out parts one, two and three of this blog series, look for the stories under RELATED CONTENT to the left.OK, we’re back and ready to begin. Last week I sanded the lacquer finish off of most of the neck and prepped the fingerboard to receive new fret wire. I used a radius block to sand the fingerboard and maintain its 7.25-inch radius, and ran the grits from 180 to 600. Since this neck is going to be oil finished, I wanted it to feel as silky and smooth as possible.This brings us to a point that needs to be addressed. I can only cover so much information here, so please do not look to this blog as a comprehensive guide to fretting. Practice on garage sale specials. If the work turns out nicely, sell the guitar and buy another one to work on. If your work turns out like crap, you’ll learn some good lessons on the cheap.Cleaning up the neck before fretting is especially important. Now is a good time to re-read the last post about clean-up and make sure your fret board is ready to move on.The fret wire needs to be bent so that it matches the radius of the fingerboard. This can be done very quickly and accurately with a fret wire bender (stew-mac.com) or individually, by hand. Bending by hand is a drag, especially with stainless steel because the material is harder than nickel-silver wire. The fret bender is a little spendy ($90) so make your own call. If the frets aren’t bent properly, they likely won’t stay seated in the slot. Read as much information as you can find on this topic and don’t move on until you understand it. Forewarned = forearmed.I’ve over-bent my fret wire so that the curvature is at a slightly smaller radius than that of the fingerboard. Now I’ll cut the wire to length by laying the wire over the fret slot and snipping off a piece that is 3/16-inch over sized. Do this individually for each slot. The fret should cover the entire slot and hang off a tiny bit on either end. This extra length is going to be cut off eventually.You can make a holder for the frets that will keep them sorted until it’s time to install them. Take a block of wood that is about 1 inch thick, 3 inches wide and 5 inches long. Using a 1/8-inch bit, drill 3 rows of 8 holes each, into but not THROUGH the block. Three-quarters of an inch is a good depth. Before drilling, measure that distance from the tip of your bit and place a piece of masking tape on the bit to serve as a depth-stop. Then number each hole, 1 through 24 and viola! You’ve got yourself a quick, cheap system for knowing which fret goes into which slot.OK. All of my frets are cut and I’m ready to install them. I’m using a fret press to push my frets into the slots. Check it out in the photo gallery. This is a great piece of equipment but it’s not necessary. You can also tap the frets in with a smallish, nylon or brass-tipped hammer. Simply place the fret so that it’s sitting in the slot and then either press or hammer the fret home.This is another good time to use the granny glasses. The fret needs to be fully seated in the slot. This means NO GAPS between the bottom of the fret and the fingerboard. Once the fret is seated, more pounding or pressing will only cause problems. Hitting the fret too hard will cause the wood of the fingerboard to compress and that fret will end up being lower than the others. Multiply this phenomenon by 21 or 22 or 24 times and you will have created a nightmare of fret leveling. Just get it in there. Easy does it.Fretting can be simple and easy or it can be truly complicated and make you want to pull your hair out. There are entire books available that deal with the intricacies of fretting. If you want to get good at this procedure, you’ll have to study it and be willing to deal with some trial and error. I like to recommend Dan Erlewine’s Guitar Player Handbook. He covers several fretting scenarios and lots of other repair work, too.OK, I’ve got all of the new frets pressed in. My prep work paid off and my frets are properly seated. Next time, I will cover the rest of the installation procedure. See you then.Marlin Hall is a self-taught guitarist with 27 years of experience and a strong DIY ethic, gigging on blues, cover tunes and original rock music on both coasts and in Minneapolis since 1991. Hall, a former sound engineer in Minneapolis, recently graduated from a guitar-building and repair program and provides repair and custom-guitar-building services in the Twin Cities area. For more info, visit lowstrungguitars.com.
All the latest guitar news, interviews, lessons, reviews, deals and more, direct to your inbox!
