How to change your guitar amp speaker
Looking to enhance or tweak your tone? You might want to switch out your speaker. We walk through the steps you need to take, and what to look out for along the way

All the latest guitar news, interviews, lessons, reviews, deals and more, direct to your inbox!
You are now subscribed
Your newsletter sign-up was successful
In this guide, we’ll talk you through various aspects of changing a guitar speaker in a combo and guitar cabinet.
There are two main reasons for wanting to change a speaker: one is that the speaker is broken, and the second is to add a different flavour to your sound. Now, the first one can be tricky.
Often a faulty speaker will just sound bad – weak, loss of low-end, little or no increase in volume as the amp volume is increased, and sometimes there’s a bad smell (as well as other things). But these can also be signs of a faulty amp, so make sure you go to a qualified tech if you’re in doubt.
If you’re looking to change a speaker for tonal reasons it can be a bit of a minefield sifting through the sales pitches and internet advice. But remember, there are no rights or wrongs with speakers and often changing the speaker can be the missing link.
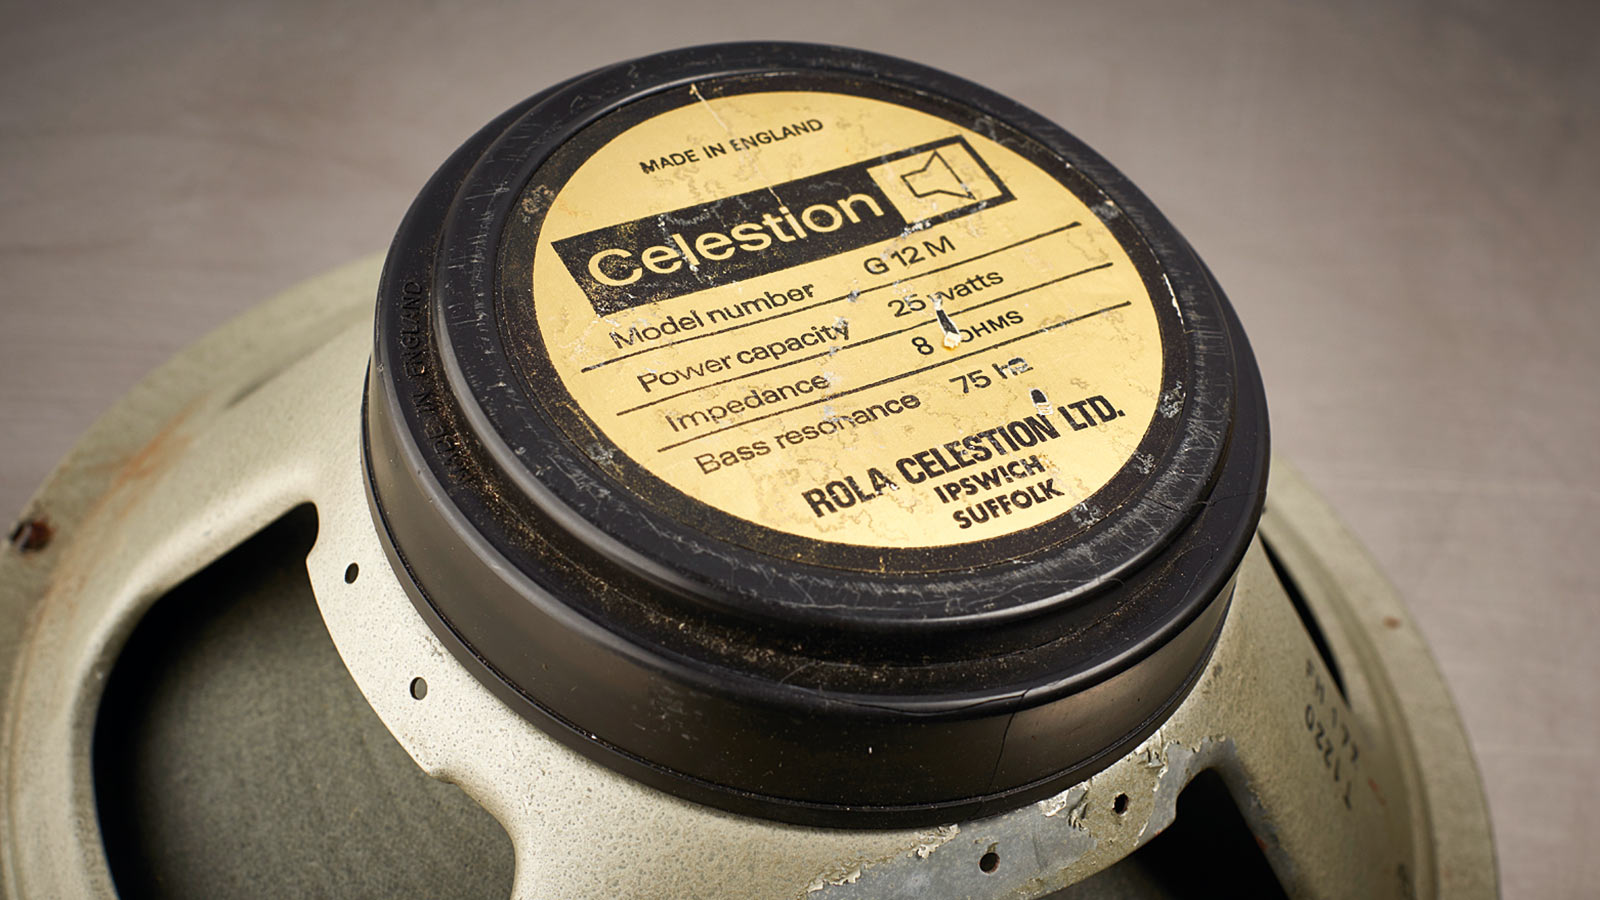
First, make sure the power rating is the same as or above that of the amp and (assuming the correct impedance speaker was used in the first instance), you’ll need to match the impedance of the replacement speaker with that of the original.

Now that we have a speaker with all the correct ratings, we’re ready to get the tools out. Start by taking a few photos of the existing wiring, just to make sure everything goes back like for like (again, assuming it was correct in the first place).
It can be a minefield sifting through sales pitches and internet advice – but there are no right or wrongs
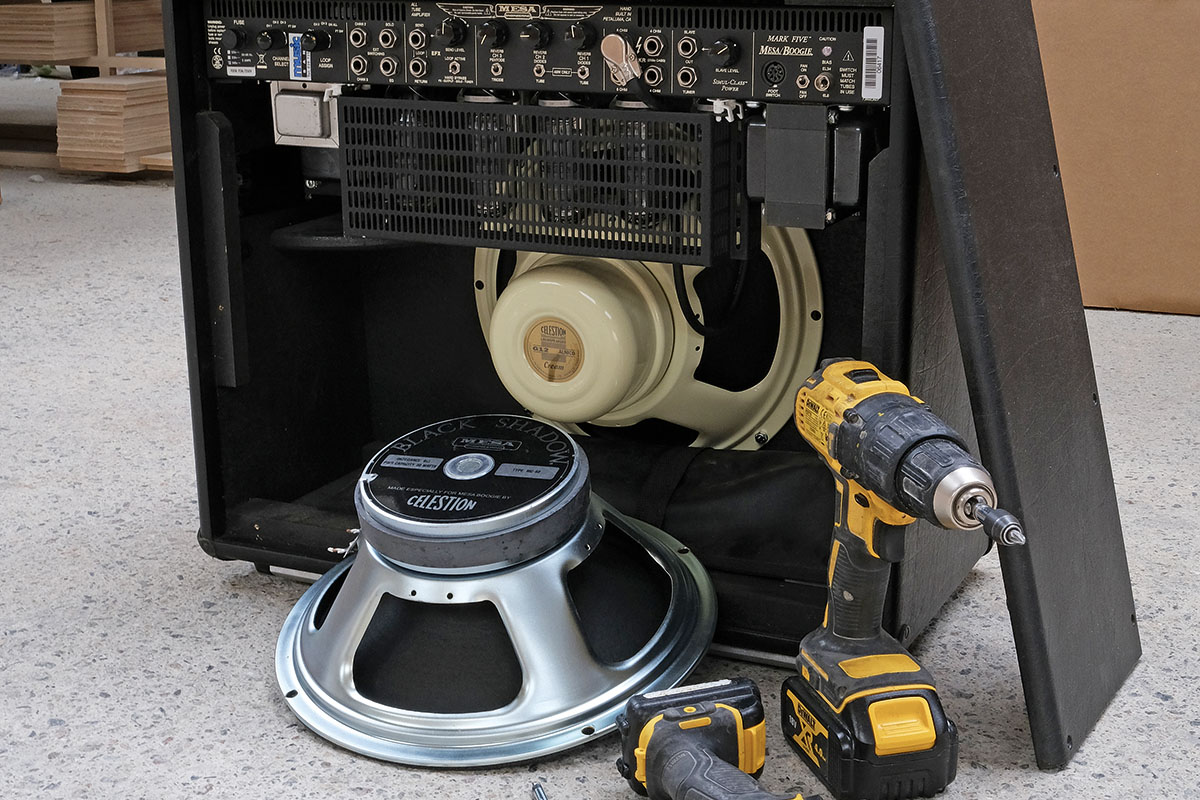
Next, place the cabinet or combo grille face down and remove the back panel(s). Usually these are wood screws and, although they can be done by hand, it’s often easier (and safer) to use an electric drill driver.
All the latest guitar news, interviews, lessons, reviews, deals and more, direct to your inbox!
Before you remove the back panel, you may want to disconnect the jack socket (input) from its mounting plate.
Combo speakers are usually connected to the amp with a cable comprising a jack input at one end and spade terminals at the other. You may also want to take the amp chassis from the case, although if you’re careful, in a lot of cases you won’t need to do this.

Now the back is off, you will be looking at the magnet side of the speaker. If the initial fault was a rattle in the cab, check to see if the speaker fixings are tight (or indeed missing). If so, tighten them up and this may solve the problem.
There are multiple ways to fix speakers in place but all involve either a fixed bolt and removable nut, a T-nut and machine screw or wood screw. Start by removing either the nut, machine screw or wood screws evenly around the speaker chassis (begin with half a turn on each fixing, working your way around the speaker).
Remember, if the speaker has been in place a long time, fixings may seize a little. If extreme force is needed, this is often a signal to enlist the help of a professional since damage here can be quite hard to fix.

The speaker should now be ready to take out. Make sure to lift using the speaker chassis or magnet to avoid damaging the cone. We can now take the new speaker and reverse the process. Line the new speaker up with the existing T-nut holes, wood screw holes or fixed bolts, and replace the fixings.
Make sure no screws or fittings are stuck to the speaker magnet, and always have a good-quality cable connecting the speaker to the jack, ensuring none of the cable is exposed
It’s best to get things finger-tight (in place, but not tight) and then tighten a half-turn per fixing until, travelling in a circle, all four or eight fixings are tight. Be careful not to bend the speaker chassis by over-tightening. Reverse the additional steps, making sure all wiring is replaced in the correct location (in a 1x12, positive on the speaker will need to go to the tip of the jack connector) and replacing the back correctly. Now you should be ready to rock.
I’ll finish with some tips to consider along the way. Make sure no screws or fittings are stuck to the speaker magnet, and always have a good-quality cable connecting the speaker to the jack, ensuring none of the cable is exposed. And finally, if needed, don’t be scared to replace worn screws or fittings – just remember your amp may have metric or imperial sizes.
