How to Balance Your Guitar’s Vibrato: Part Two
From a Standard Tremolo to a locking Floyd Rose: learn how to set up your guitar's whammy bar
Last time we looked at how to get your guitar’s vibrato into line. Before I move onto the next juicy guitar maintenance task, I thought I would give you some additional balancing tips.
You may need to balance your vibrato whenever you change your guitar’s strings; it might just take a subtle tweak to get it back in line. Changing the strings one at a time can help maintain the balance of your Floyd or non-locking vibrato. You simply detune one string, remove it, fit a new one, tune it up, all the while keeping the other five strings as in-tune as possible.
Changing strings one at a time doesn’t help if you need to clean your guitar’s fingerboard, replace the pickups or carry out any major repairs. In those scenarios, you need to remove all the strings, so try stuffing a rag or duster under the vibrato to keep some tension on the springs. That could help the vibrato balance naturally when you tune up.
Here are some other tips:
Following on from last time, you might find that the two big vibrato screws you turn to increase and decrease spring tension are adjusted as far as they can go, but your vibrato still isn’t balanced correctly. In that case, you could consider adding or removing a spring.
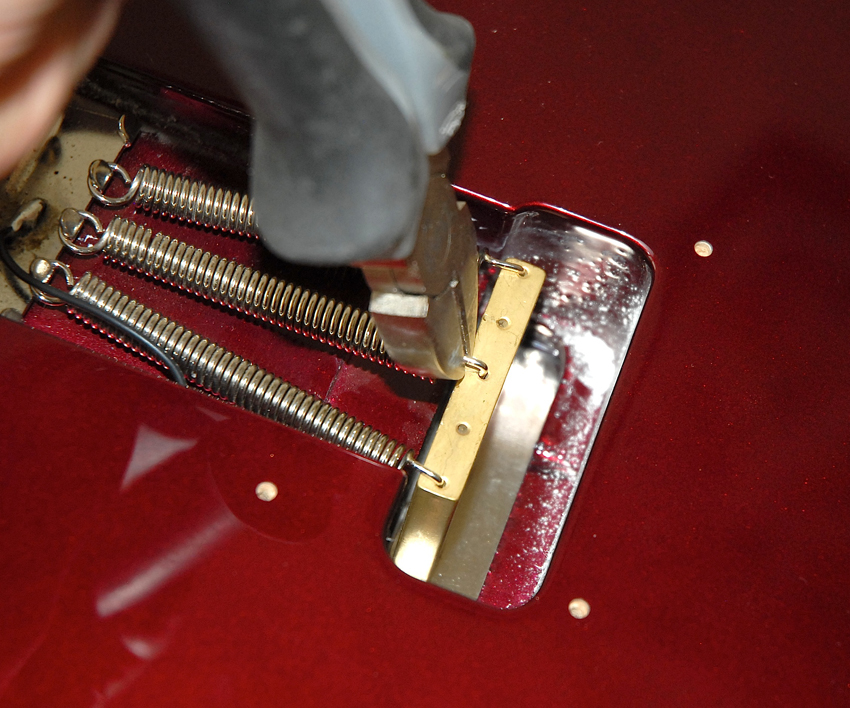
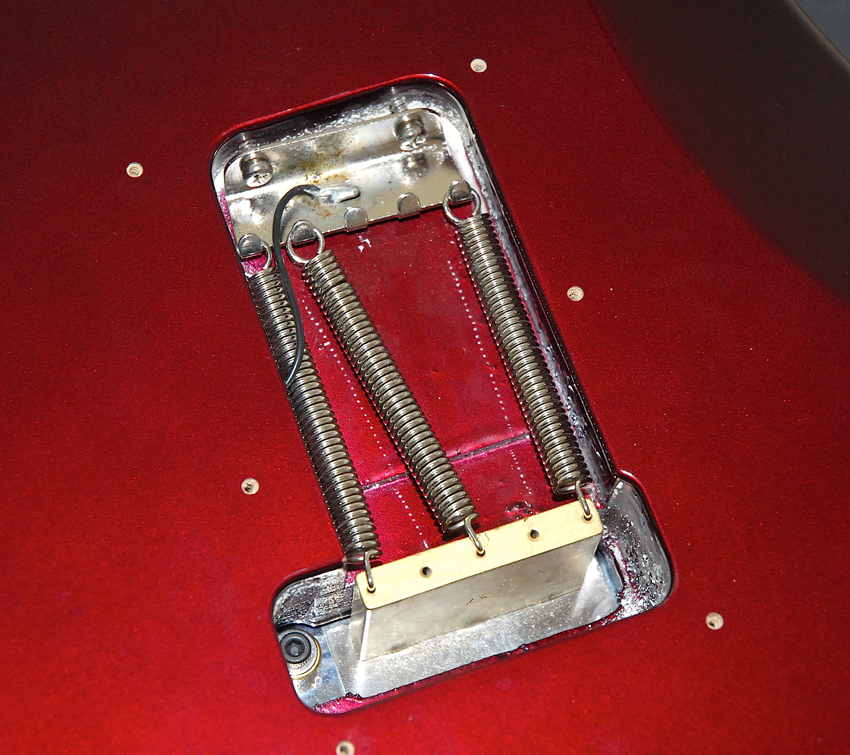
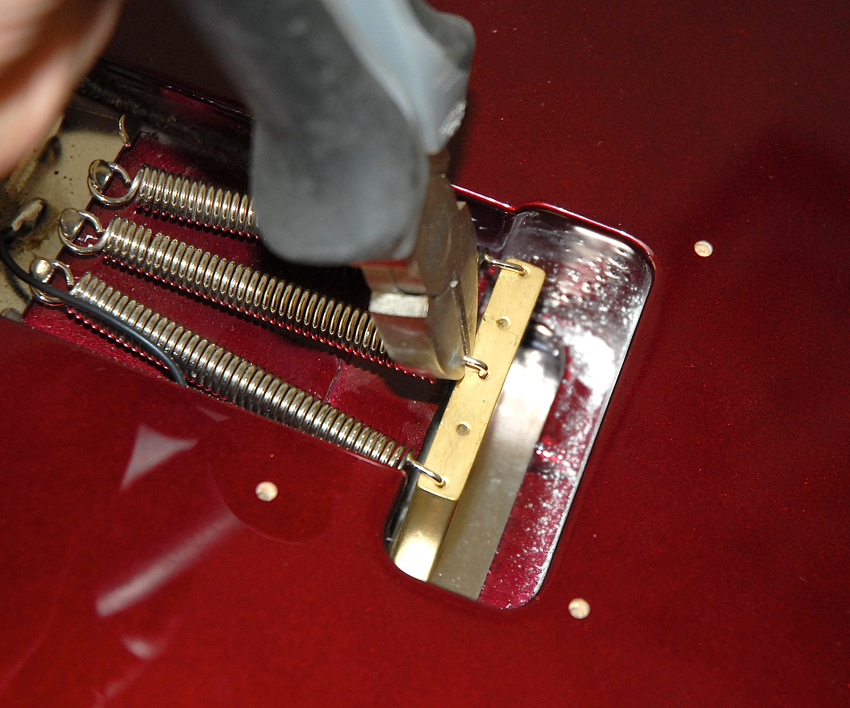
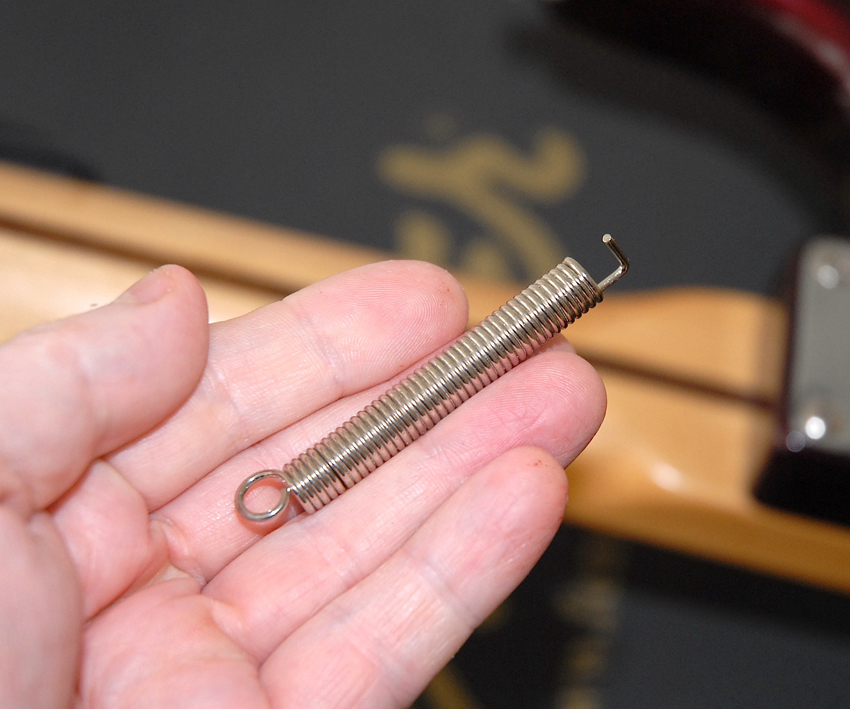
If the screws are screwed into the guitar’s wood as far as they’ll go, but your vibrato is still angled away from the body, you’ll need to add an extra spring (See photo 1 in the photo gallery below). Put some safety goggles on (See photo 2).
You’re dealing a spring under tension. If it slips from your grasp it could hit you in the face. I’ve done that; it hurts big time. If you’re nervous about dealing with springs under tension, detune the guitar. This will make it easier to get the spring into position. Just make sure it’s seated securely in the claw and vibrato block before you retune the guitar.
All the latest guitar news, interviews, lessons, reviews, deals and more, direct to your inbox!
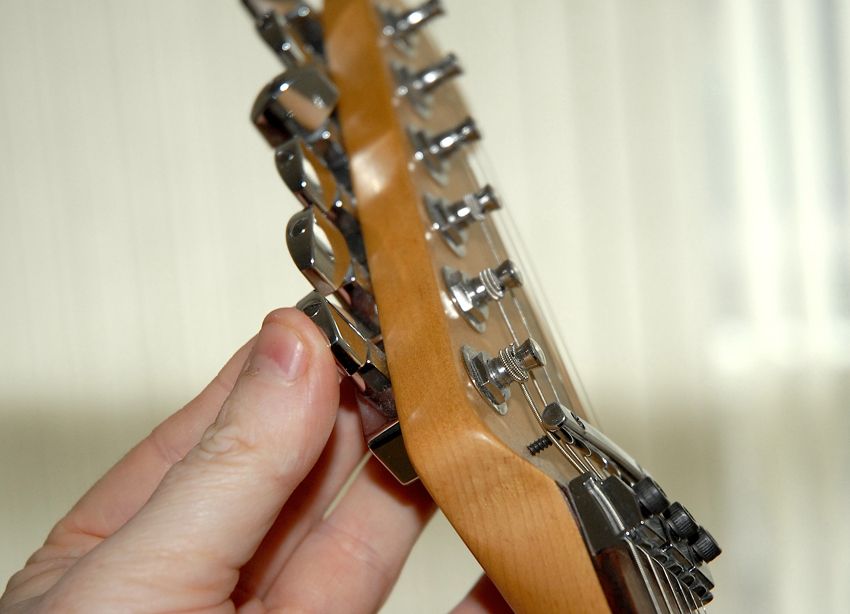
To fit a new spring, attach its looped end to the claw. Next, using a pair of pliers, stretch the spring to the vibrato block and slip its pin into the hole in the block (See photo 3). The added tension caused by the new spring should finally pull the vibrato into line. You may find you have to release a little tension by turning the screws anti-clockwise. Just adjust and retune, natch (See photo 4). It’ll eventually settle down.
If you don’t have a spare spring you can increase the tension on the strings by angling one of the existing springs (See photo 5). It might just be enough to level that pesky vibrato once and for all. It’s worth a try. In some cases, you might find that you’ve loosened the two big screws as far as you dare but your vibrato is still angled towards the body. No problem. Just remove one of the springs. If that leaves the vibrato sitting too high, tighten the screws a bit to compensate.
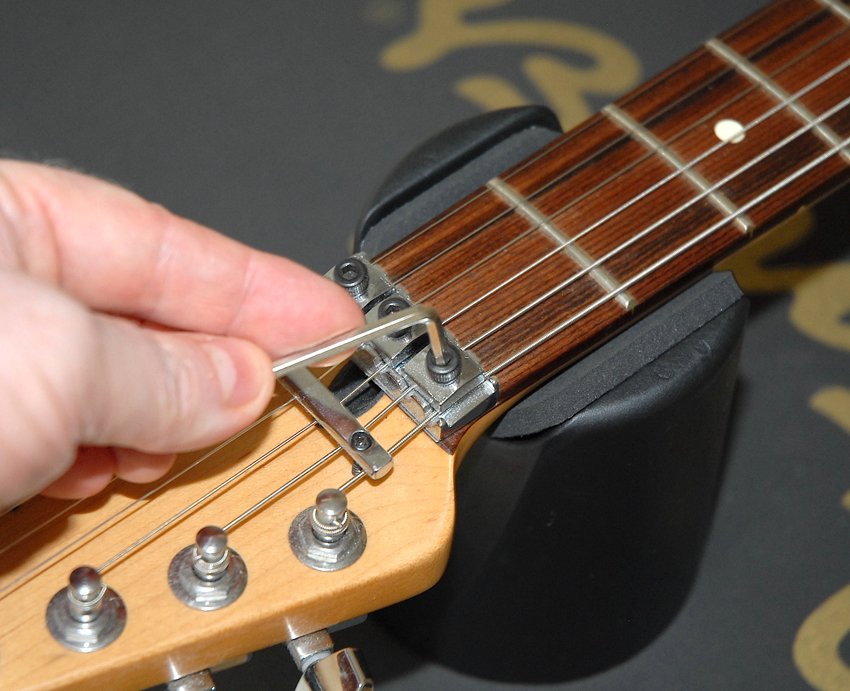
When all is balanced you can tighten the locking top nut bolts. Don’t tighten ‘em too hard; just enough to keep the strings in check (See photo 6). By the way, when it comes to fine tuners, I set them with the same amount of adjustment for flat and sharp. That pretty much covers the whole vibrato balancing thing. You should be an expert by now!
By the way, someone asked why I always used the term "vibrato" and not "tremolo" or "whammy bar." Well, I use it because vibrato is the correct term for the wiggly stick on a guitar. It’s dear old Leo Fender’s fault that many players incorrectly refer to a guitar’s vibrato as a tremolo. While developing the Fender Stratocaster, Leo or one of his guys christened his new baby’s vibrato unit the "synchronized tremolo" before naming the tremolo effect on his amplifiers "vibrato." The names stuck and we’ve used them ever since.
To be honest, it doesn’t really matter what term you use to describe your vibrato. As for my hero, Leo Fender ... well, the guy was too busy making rock guitar history to care about correct terminology. Let’s cut him some slack. See you next time.
If you simply can't get enough of Ed and his Shed, click here!

Ed Mitchell was Reviews Editor on Total Guitar magazine from 2003, and his guitar-modding column, Ed’s Shed, appeared in print on both sides of the Atlantic (in both Total Guitar and Guitar World magazines). He was the Editor of The Blues Magazine from 2012-16, and a contributor to Guitarist, Classic Rock and Louder. He died in October 2022, aged 52. Between them, the websites Guitar World, Louder and MusicRadar host over 400 of his articles – among them interviews with Billy Gibbons, Paul Weller, Brian Setzer, profiles on Roy Buchanan, Duane Allman and Peter Green, a joint interview with Jimmy Page and Jack White, and dozens of guitar reviews – and that’s just the ones that made it online.

![B.B. King [left] cups his hands to his ear as he asks the crowd for more. Joe Bonamassa, with a Les Paul, gives his crowd a thumbs up](https://cdn.mos.cms.futurecdn.net/P3XrQLh86C27JfPp4AGp6n.jpg)