

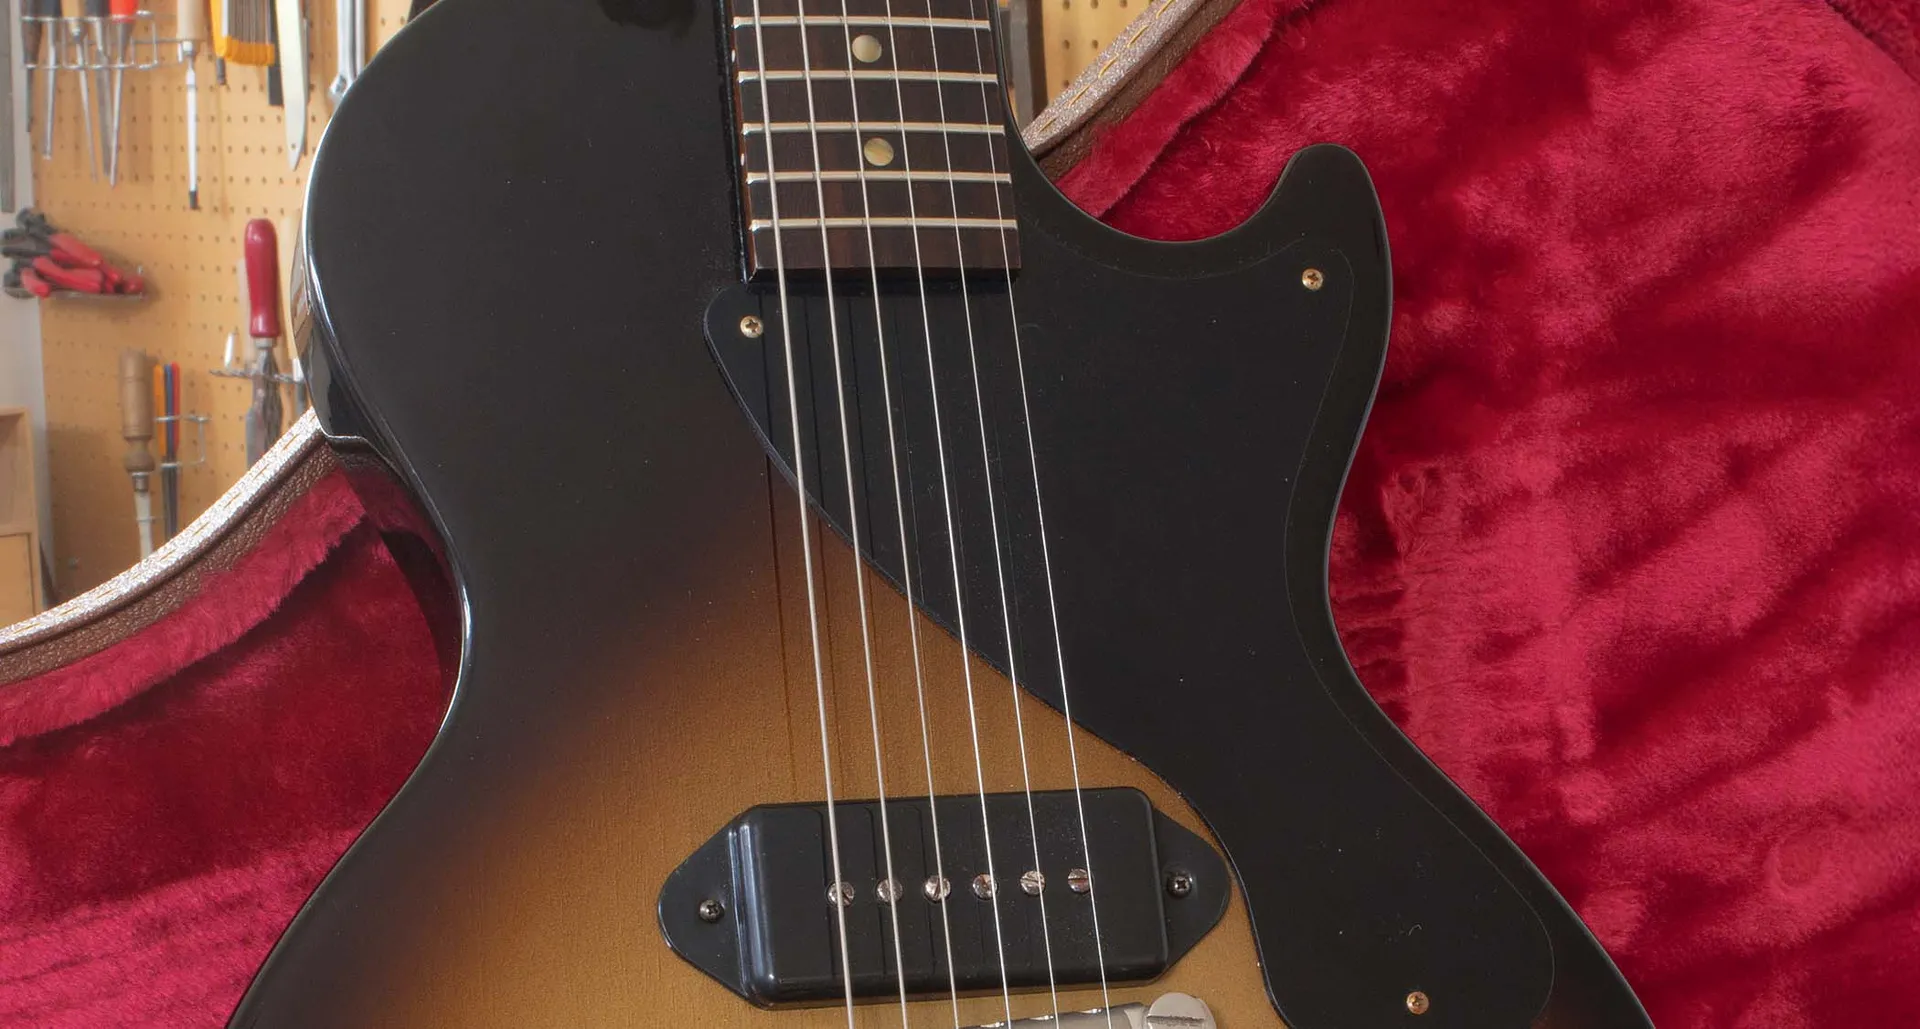
My friend James had been gassing for a ’50s-style single-cutaway Les Paul Junior and got a pretty good deal at Gibson’s Garage for a sunburst VTB model. To be fair, the VTB version is more ‘in the spirit of’ than an accurate vintage reissue. Gibson’s VSB VOS Junior ticks that box very nicely, but it costs around £2,000 more than the VBT.
Rather than break the bank, James bought the cheaper version and asked me to get it closer to vintage spec. This project isn’t going to demand any advanced luthier skills and there’ll be no refinishing or finish relicing. Instead, I’ll mostly be swapping and upgrading parts to give the guitar a ‘closet classic’ look and, hopefully, a more vintage tone.
Strip Down
Since so many parts were being changed, I began by completely stripping the guitar. With no pickup, controls and tuners onboard, I couldn’t resist the opportunity to put the husk in my freezer to see if I could force the lacquer to check. In all honesty, I did so more in hope than expectation and, sure enough, nothing happened.
Gibson claims to use nitrocellulose lacquer and, having stripped it for relic refinishes, I can confirm it is very combustible and it produces a camphor smell when you scrape or sand it. I’m happy to take Gibson at its word, but the nitrocellulose it uses below the Murphy Lab level contains a lot of plasticiser to prevent checking and it does that job very effectively.

An inverted air duster might have worked, but James’s brief was to leave the finish intact if the freezer failed.
Pots, Cap & Pickup
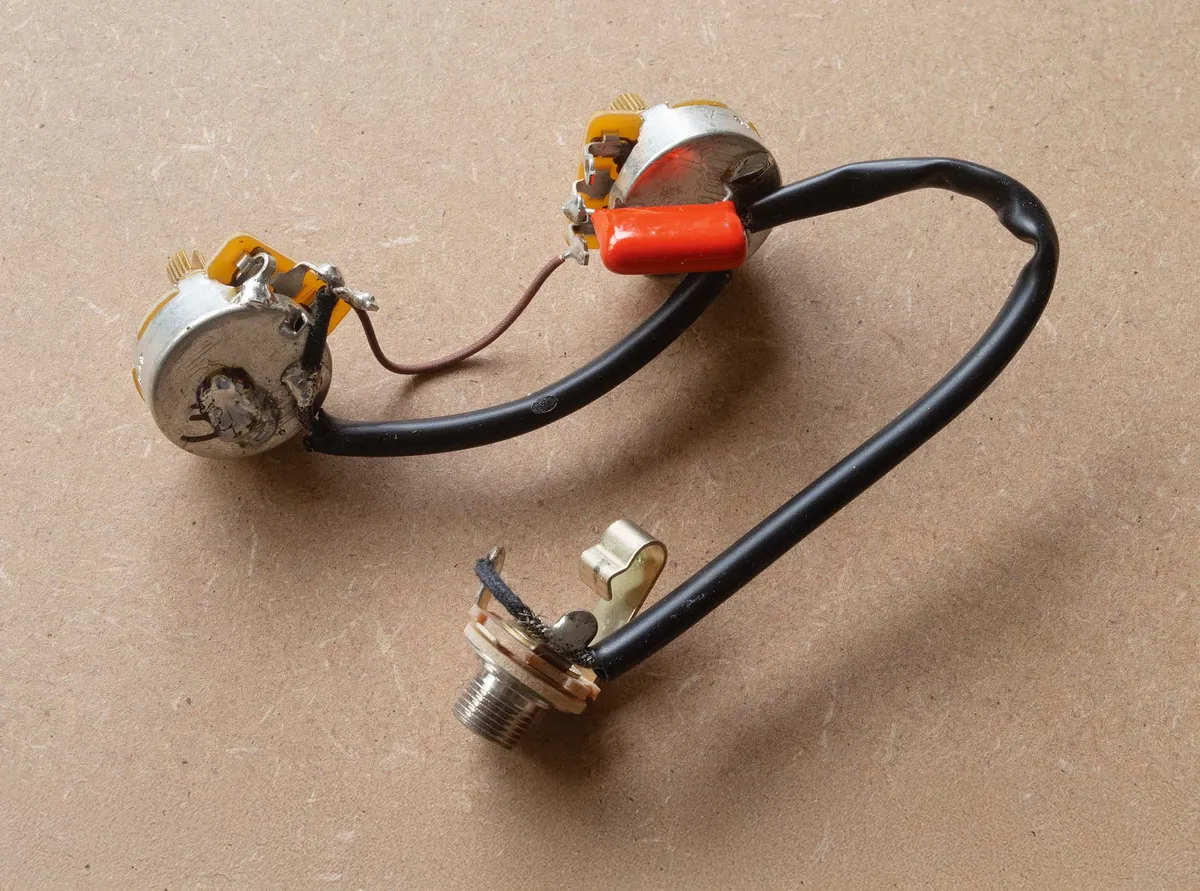
With the pickup disconnected and the controls removed, I grabbed the chance to measure the potentiometers. You can verify pot values by taking a resistance reading across the outer solder tags with the pot turned fully open. Both potentiometers read slightly over 500k, but I’m always bewildered by 50s-style Gibsons – such as this guitar – that aren’t wired 1950s style.
During the 1950s and early 60s, Gibson wired tone controls to the centre tag of volume controls, rather than the input tag. It may seem like a minor detail, but it generally results in a more pronounced darkening of the tone when volume controls are turned down.
James had sourced a paper-in-oil ‘Bumblebee’ replica capacitor, so I installed that 1950s style and removed the factory Orange Drop capacitor and brown jumper wire between the volume and tone pots in the process. If you find that your Gibson or Gibson-style guitar gets a little dark when you turn down the volume, take a look at the controls to see how they’re wired.
Changing to 50s wiring is one of the simplest mods you can do, and if you own a soldering iron, it won’t cost you a bean. Hardcore Junior fans may also wish to try out a 250k potentiometer for the tone control because they often featured in 1950s Juniors and apparently soften the treble response.
The stock P-90 was wax-potted and gauss readings also exceeded those I took from a couple of mid-50s P-90s. This suggested that the factory installed magnets are more likely to be Alnico V than mid-50s-spec Alnico II or III. Although swapping the magnets would have been simple enough, James wanted non-potted coils so he sourced a boutique pickup that was closer to vintage specs and also reliced.
Plastic Parts

In another departure from vintage specs, Gibson equips the Junior VBT with black control knobs, not gold. Similarly, the truss rod cover is a black/white laminated item, rather than one-ply black, and overall the plastics look a bit too shiny. James sourced some gold knobs and a butyrate P-90 cover and asked me to perform some light relicing on the parts.
Sourcing a one-ply truss rod cover wasn’t straightforward. My go-to suppliers didn’t stock them
Sourcing a one-ply truss rod cover wasn’t straightforward. My go-to suppliers didn’t stock them and those I found online were eye-wateringly expensive. Sometimes, however, it pays to cast the net a bit wider and I eventually found one for less than £7 on Amazon UK.
Using a scraper blade, I softened the edges of the pickguard, control cover and truss rod cover and knocked back the glossiness using 0000-grade steel wool. At this point, the plastic will often look a bit too muted and so I usually give it a light polish with Meguiar’s Scratch X to bring it back to a dull sheen.

Gold top-hat knobs are actually made from clear plastic and painted on the underside with gold lacquer. I used a scraper blade to shave off the gold around the edges and applied metallic green enamel mixed with a darker green to simulate verdigris.
I then used a cotton bud to apply StewMac’s amber and medium brown tints mixed with diluted acetone onto the outer surface and set the pots aside to dry.
Tuner Swap

Although the factory-fitted tuners worked perfectly and looked fairly good, the plan was to replace them with vintage-correct three-on-a-plate Kluson replicas and 10mm conversion bushings. This is where I ran into a slight problem because the bushing holes were not drilled in a straight line.
This was deliberate on Gibson’s part because if you look at vintage Gibsons with three-on-a-plate and individual tuners, the A and B strings are often in contact with the E string posts. Locating the A and B string bushings closer to the centre of the headstock solves the problem, but it makes fitting three-on-a-plate tuner sets a bit more complicated.

Placing masking tape strips between the outer bushing holes made it easy to see how far off the centre line the A and B string bushing holes actually were.
I only needed to make an adjustment of about 1.5mm, and I used a round rasp to modify the shape of the bushing hole. I did need to ream the outer bushing holes fractionally wider to get conversion bushings to go in, but I was just shaving off excess lacquer, rather than wood.

Doing so enabled me to position the tuners accurately so I could test fit the A and B string bushings. It was simply a case of filing, testing and then filing some more until the centre bushings pressed down into their modified holes.
The plates covered all the original screw holes and a couple of them even lined up, but fresh holes had to be made for the other replacement tuner screws, so this isn’t a modification that can be reversed without leaving telltale evidence.

Brazzing The ’Board
Another feature that distinguishes this Junior from its VOS counterpart is a far paler rosewood fretboard.
Although I didn’t have a VOS on hand to compare, I would imagine the feel of the ’boards must differ, too, because James’s Junior had the roughest fretboard I’ve ever seen on a brand-new guitar.
I can only compare its texture to dried out snakeskin leather, and there seemed to be a real prospect of getting splinters.

Sanding between frets is tricky, but scraping is fairly quick and easy. For this job, I used single-sided razor blades, which are sold online as glass scrapers. Quality can vary, but I’ve had good luck with Personna-branded blades. After scraping, I used 0000-grade steel wool to clean away the rosewood shavings and make the ’board even smoother.
To darken the fretboard, I used Angelus Dark Brown leather dye. I applied it with a cotton bud, taking care not to allow the dye to run over the ’board edges.

The dye is spirit based so it doesn’t raise the grain like water-based stains, and once it’s dried it doesn’t rub off. I’d recommend wearing latex gloves to apply it because if it gets on your fingers, it won’t wash off in a hurry. The dye also gave the marker dots a more vintage appearance. After it had dried, I followed up with some fretboard oil.
Junior School Report
So, has all this work actually improved the guitar? Visually, at least, it’s now closer to what James wanted, but any judgement would be entirely subjective. The replacement tuners work very smoothly and tuning is stable with maybe a tad less neck heaviness.
As for the tone and playability, the guitar was pretty great from the get-go, with perfectly levelled frets and nut slots that couldn’t be faulted. Then again, a lightweight mahogany body with a set neck, wraptail bridge and a P-90 is about as close to a slam dunk as it’s possible to get in guitar making.

All James’s guitar needed was a quarter turn of the truss rod nut to reduce neck relief. The replacement pickup is more microphonic than Gibson’s and has the sweeter treble and quackier midrange you probably want from a pickup wound to vintage specs with lower gauss magnets. The 50s wiring has also made the volume control more usable.
James had already fitted a lightweight aluminium Faber wraptail bridge as well as installing a full set of reliced screws before bringing the guitar to me. Whether you approve of aged parts or not, the guitar’s specs have ended up far closer to Gibson’s VOS model for considerably less outlay.
That said, the VOS version is built with hot hide glue, rather than (presumably) aliphatic resin glue, and disassembling James’s guitar to rectify that would have been both impractical and insane. All things considered, this has been a worthwhile project and well within the scope of most guitar tinkerers.
- This article first appeared in Guitarist. Subscribe and save.

