How to record your electric guitar
Recording your guitar doesn't have to be a brain-melting experience. Here's how to take the pain out of the process
All the latest guitar news, interviews, lessons, reviews, deals and more, direct to your inbox!
You are now subscribed
Your newsletter sign-up was successful
Recording electric guitars is different to recording acoustics – you’ll most likely be micing up an amp for starters – but many of the same ideas can apply.
An electric guitar amp outputs fairly high sound pressure levels (SPL), so if you’re close-micing your cab with your amp cranked, you might want to consider using a dynamic mic or a condenser mic with a pad switch.
- The best microphones for recording guitar
- Capture your best take with the best guitar audio interfaces
- Here is our choice of the best guitar amps for recording
Get close
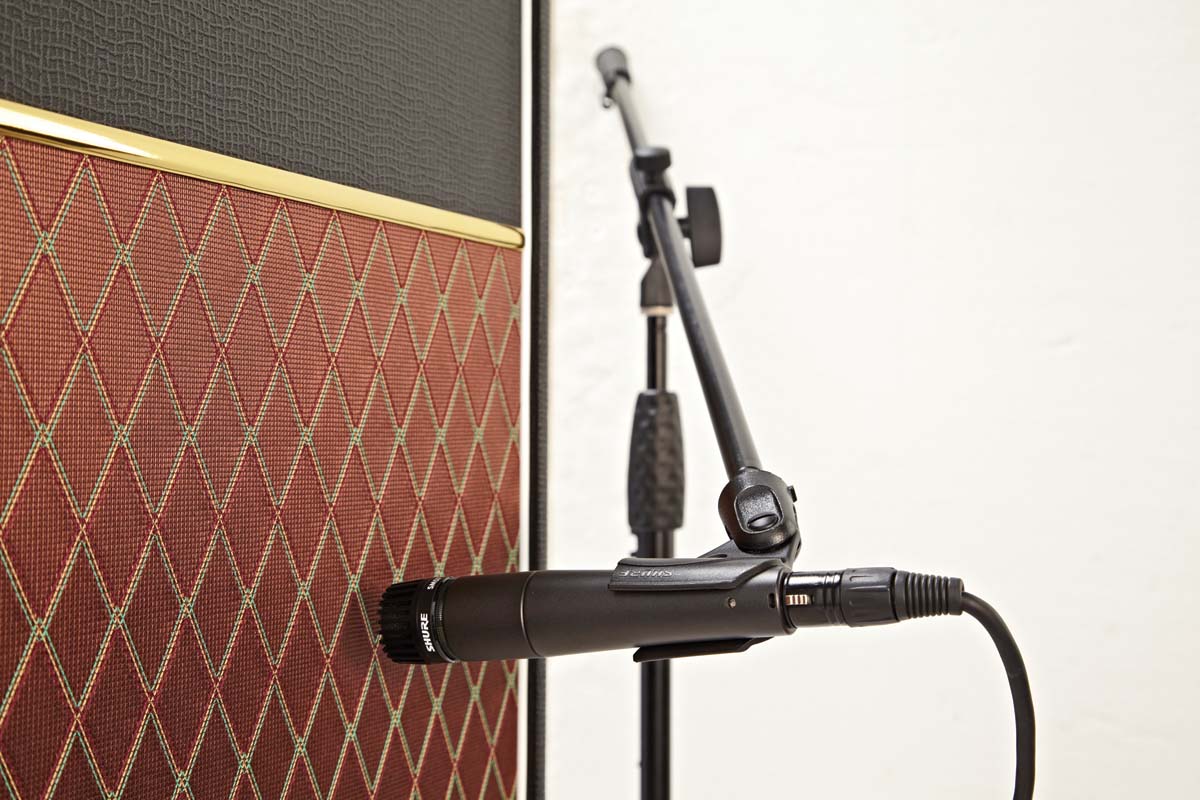
Many engineers like to close-mic amps and cabs with a dynamic mic and, believe it or not, placing the mic at different points in front of your speaker has a huge effect on the sound you capture.
Start with the microphone 1cm-to-3cm away from the grille, pointing halfway between the centre and edge of the speaker. Moving the mic by just a couple of centimetres will change the sound.
As a general rule, micing the centre gives you a bright sound, while moving the mic towards the edge of the cone makes things progressively darker. Moving the mic away from the amp introduces ambience to the sound.
No control room? No problem
Unless you live on Abbey Road, it’s unlikely that you’ll have a separate control room in your house. Don’t panic, though, as John Leckie [producer of Radiohead's The Bends among others] reckons you might be better off playing in the same room as your amp.
“You get a better sound if you stand in front of the amp with electric guitar,” he says, “because something happens. Not necessarily full-on feedback but there’s an interaction between the guitar and the amp. If you have a brick wall between you and your amp and you’re in another room, you’re not going to get that.”
All the latest guitar news, interviews, lessons, reviews, deals and more, direct to your inbox!
Listen closely
Start by getting your amp to sound right in the room first. Spend a bit of time thinking about the kind of sound you want to achieve, and listen objectively. This is the time to experiment – getting it right at the first stage will make micing a lot easier.
Try your amp in different areas of your room at the volume you’re going to record at. Sweep your amp’s tone controls through their range while playing and stop each one when it sounds right. Once you’ve set up your sound, it’s time to position the mic.
Make your mark

Once you’ve found the position in which you’re going to place the mic, use some tape (any kind is fine, as long as you can see it) to mark the exact spot on the speaker grille. This will save time if your mic gets moved during the recording. Obviously, if you’re using a cab without a grille, it’s advisable to skip this step!
Dual mics
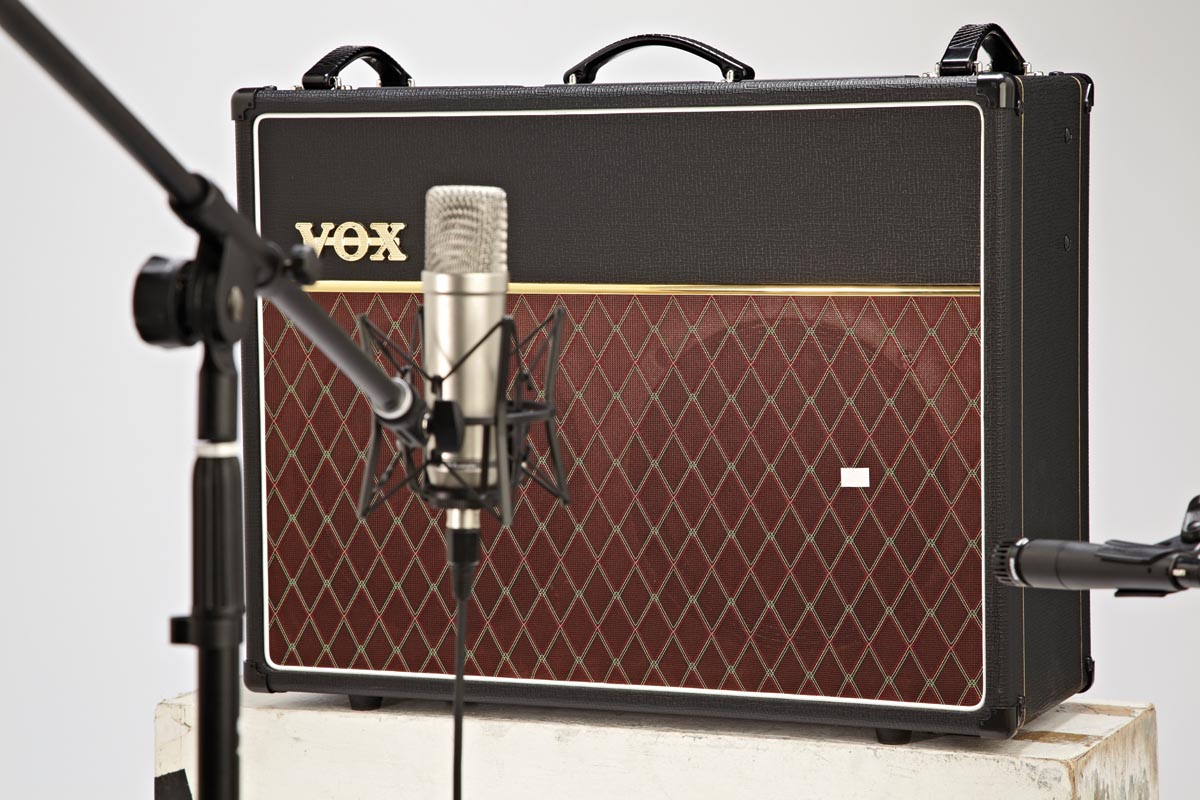
It’s common for engineers to use two mics on the same cabinet to get a balance of two different sounds. This could be either a pair of different dynamic mics that give different tonal characteristics, or a dynamic and a condenser mic.
PICK THE BEST MIC
“If there’s only one microphone I could ever have, it would be a Shure SM57. A ’57 is indispensable for recording electric guitars and, in fact, you could do a whole album with 57s if you had some good mic-pres. They’re great workhorses… left to my own devices, I’ll put a ’57 at the edge of the voice coil really close-mic’d. That’s as good as it gets for me.”
John Porter, producer [B.B. King, Ozzy Osbourne]
As with acoustic guitars, you’ll need to be careful of phase issues ruining your tone, but – particularly with overdriven guitars – you can use the phase relationship of each mic to your advantage when crafting your tone. Start with the dynamic in the ‘close’ position, then add a condenser two-to-three-feet further back.
From here, record some short test parts and move the condenser mic around to hear the difference from each position until you’re happy with how it sounds.
Go Direct
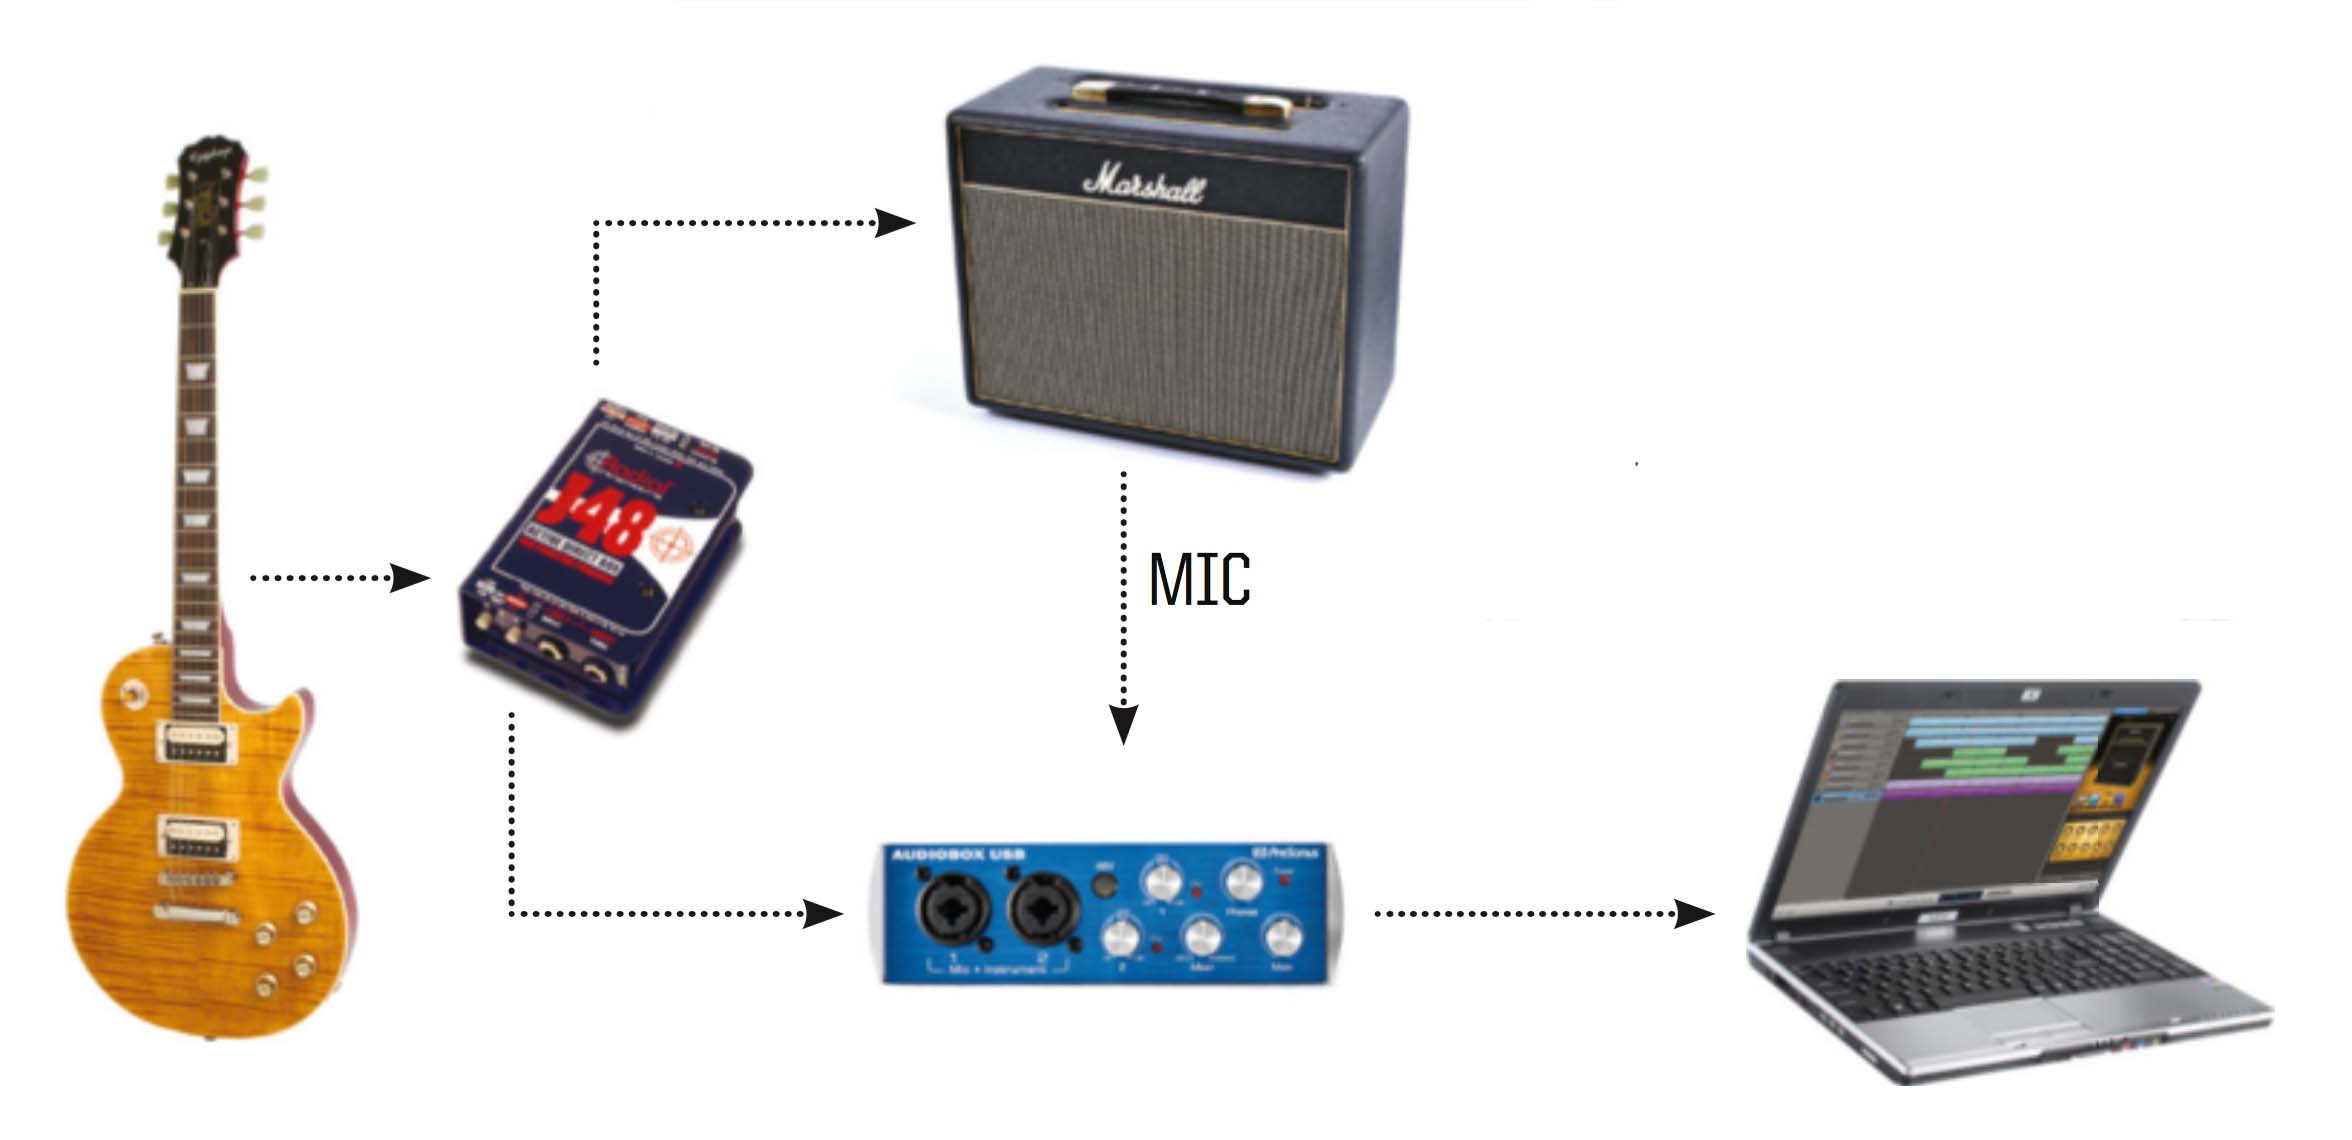
DI (or direct input) box will allow you to split the signal from your guitar to two places. From the DI box, you can send one signal to your amp for micing, and another completely dry signal to another input on your audio interface.
Record them on separate tracks and you’ll have an unprocessed track straight from your guitar’s pickups, plus the sound of your amp for the price of one take. Why would you want to do this? Well you could reamp the signal...
Re-amping
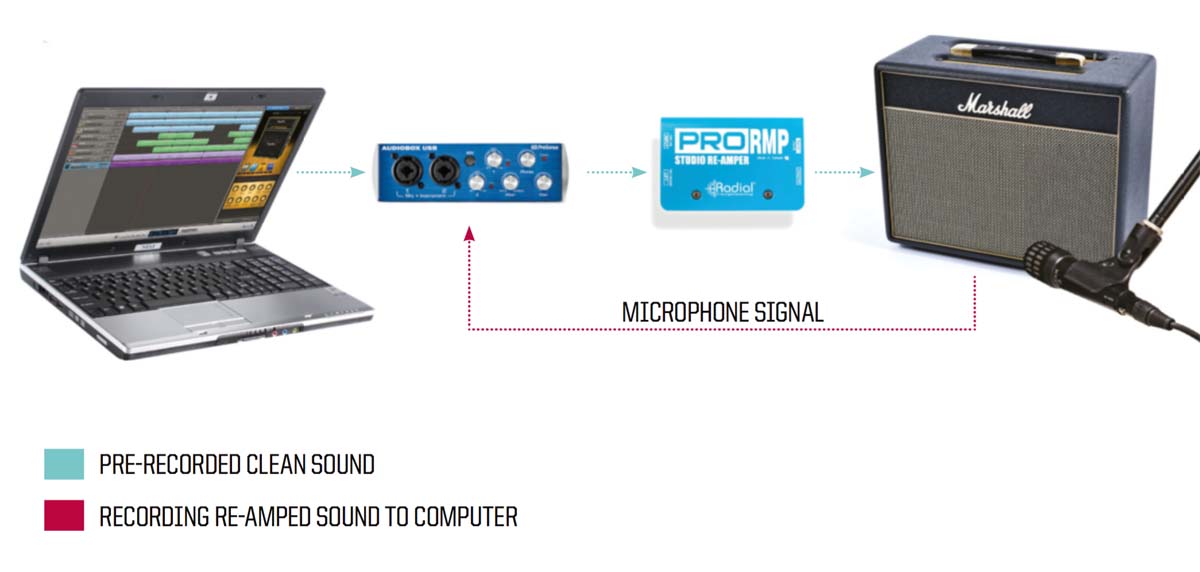
Re-amping is the process of taking a guitar track that’s already recorded and sending it back out to a mic’d guitar amp for re-recording. This technique is particularly handy if you find that you’re unhappy with your original amp sound and want to correct it later.
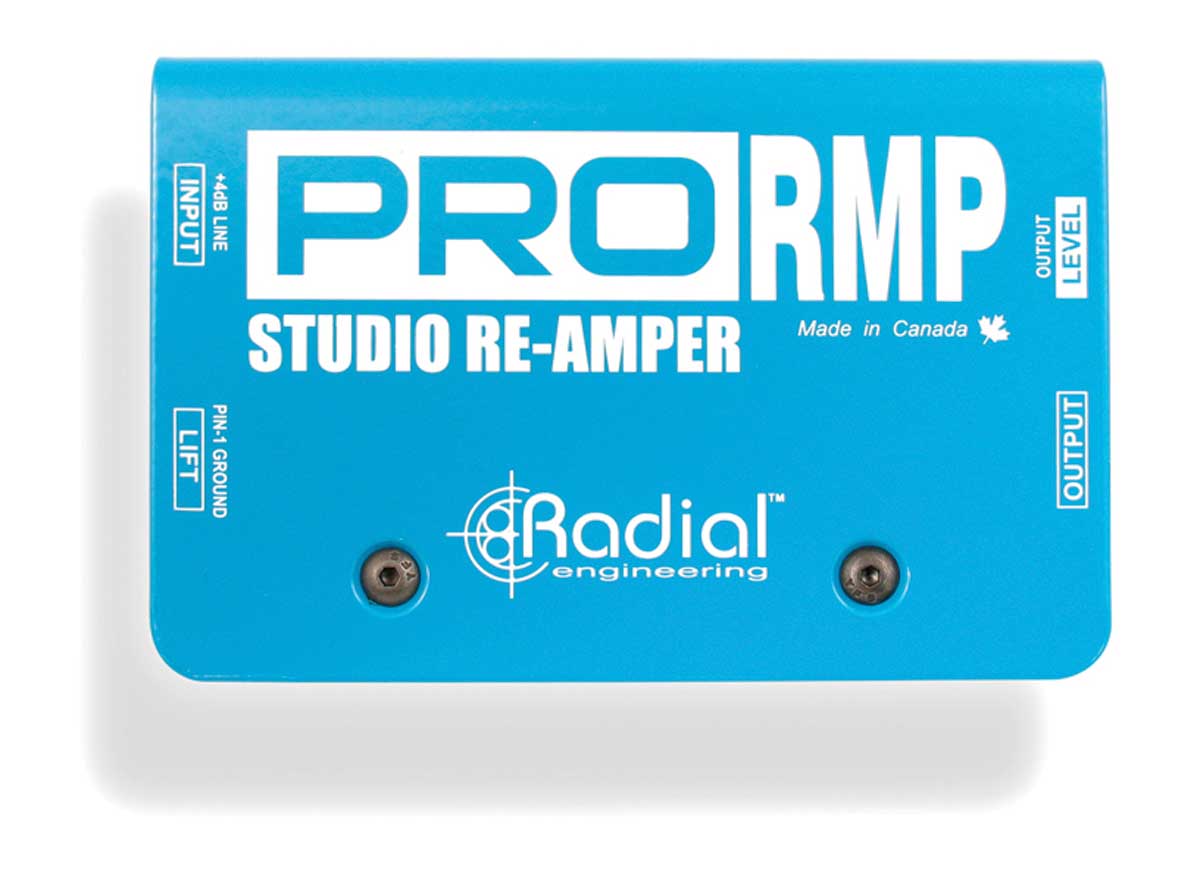
Your audio interface will send the signal out at a higher level than your guitar amp is designed to receive, so to re-amp effectively, you’ll need a re-amping box. Radial produces a range starting at around $99. The diagram above shows a re-amping setup.
Model behaviour
Up until now, we’ve focused on capturing your guitar sounds through your amp with a mic. Of course, this method isn’t going to be practical for everyone. If you’re recording at unsociable hours or you can’t crank an amp at home, then amp modelling could be your new best friend. You probably already own some models, in which case you can get going. If not, you’ll need to decide on a hardware or software solution.
Software:
One of the benefits of software amp modellers is that they keep everything inside your computer, meaning you can run multiple instances of them (computer power permitting).
“Less distortion can be more aggressive. Slayer never had tons of distortion on their guitars, Kerry just digs in like a motherf*cker when he’s playing. A lot of people tend to hide behind distortion with their rhythm playing.
“You’ve got all of these amps now with high-gain saturation, but you should be getting that punch out of your pick attack and digging in hard. If you can wind the gain down and play hard, you’ll get a better clarity to your sound.
“There’s definitely something to be said for the old-school guys who learned to play through [Marshall] JCM 800s without any pedals.”
Andy Sneap, producer [Slayer, Opeth]
And the best thing? You can tweak your settings after you’ve recorded your guitar sounds. Most software will be set up to record the sound coming in from the interface as a dry track.
So even though you’re hearing the sound of your guitar being fed through a virtual amp, it’s being added when you play back, rather than to the recorded file. This means that your sound remains totally flexible throughout – a bit like re-amping. Careful, though, because it’s easy to get caught up in endless tweaking!
Hardware:
Using a dedicated amp modeller has its benefits over software. Tweaking is (usually) easier and it won’t put any additional strain on your computer. There are loads to choose from the likes of Line 6, Boss, Mooer, Headrush and Fractal, and many hardware units also act as an audio interface.
Steal that sound
Ever heard a guitar tone then spent ages tweaking your EQ controls to match it? By using an EQ with an analyser it’s possible to quickly get in the right tonal ballpark. First, import the audio track of the guitar sound you like into your DAW.
Next, select an EQ with an analyser, or choose a spectrum analyser plug-in (most DAWs have one included).
Play the track, and take a good look at the EQ curve. Then, try to match it with an EQ plug-in on your own guitar track. It won’t tell you things like pickup type, tuning or gain settings, but you should be able to get close.
Use free stuff
Many DAWs now come with guitar amp and effects models included. While these are often very good, there are also some free third-party amp modelling plugins available to experiment with.
IK Multimedia’s AmpliTube 4 comes with 24 models and allows you to try out the company’s paid-for models. Native Instruments’ Guitar Rig 5 Player has been around for a while but still sounds great. Both run on Mac or PC and include basic built-in recording features within their standalone versions – ideal for capturing those initial creative ideas.
Small amps, big sounds
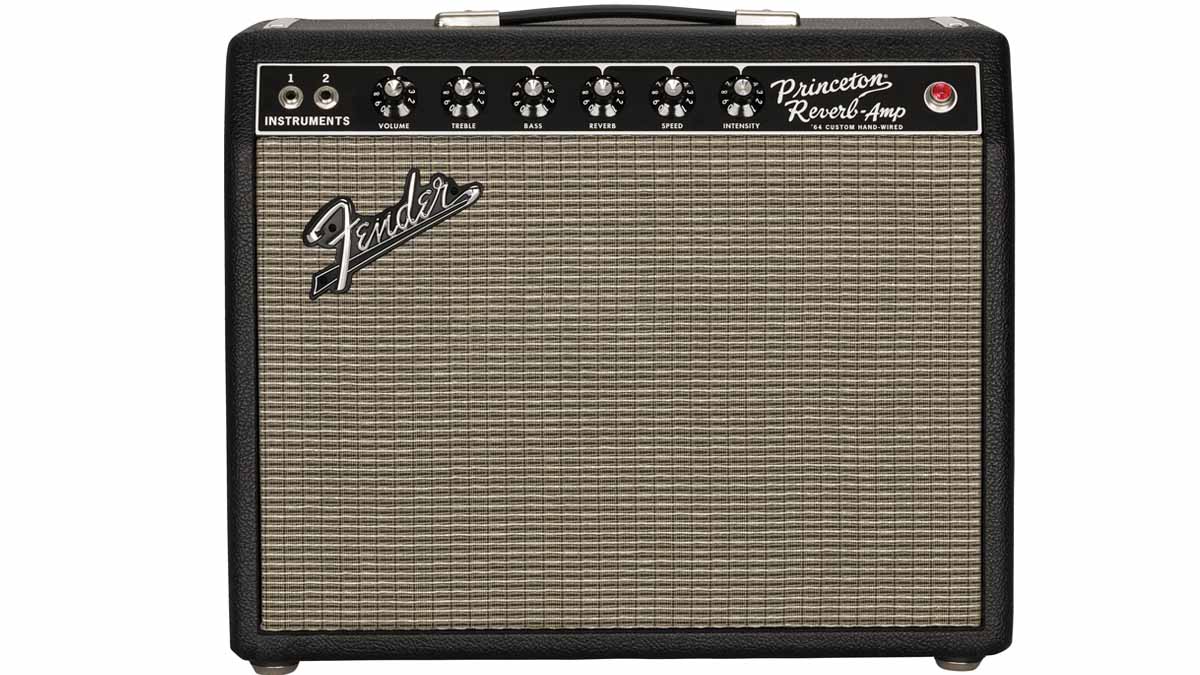
When you’re gigging, you might need 100 watts and a couple of 4x12s to silence the drummer. However, when you’re recording, our experts agree that small equals better…
Bruce Botnick [The Doors, engineer]: “I like the little small Marshalls, because they make such a big sound. A lot of the best guitar stuff that I’ve recorded, which has really sounded loud and big, has always been with small amps.”
Mike Vernon [producer of Bluesbreakers with Eric Clapton]: “I personally prefer to work with smaller amps because you can get more intensity out of the amp and you get more focused direction. The larger the cabinets, the more confused it will become and you’re looking at eight [speaker] cones and thinking, ‘Which one do I mic?’ They won’t all sound exactly the same. In fact, some will be designed not to sound the same.”
Tony Platt [AC/DC, Led Zeppelin, producer/engineer]: “For big, ringing guitar sounds, it actually does work better to use smaller amps. It’s also a matter of not having speakers that are overrated for the amp.If you’ve got a 50-watt amp playing into a speaker that’s rated at 100 watts, the speaker is going to be more than capable of dealing with it. But, actually, what you really want is a 30-watt speaker. Then at reasonably low volumes you can achieve something that sounds like the whole thing’s cranked up to 400 watts – or 11 as they call it!”
Total Guitar is one of Europe's biggest guitar magazines. With lessons to suit players of all levels, TG's world-class tuition is friendly, accessible and jargon-free, whether you want to brush up on your technique or improve your music theory knowledge. We also talk to the biggest names in the world of guitar – from interviews with all-time greats like Brian May and Eddie Van Halen to our behind the scenes Rig Tour features, we get you up close with the guitarists that matter to you.

